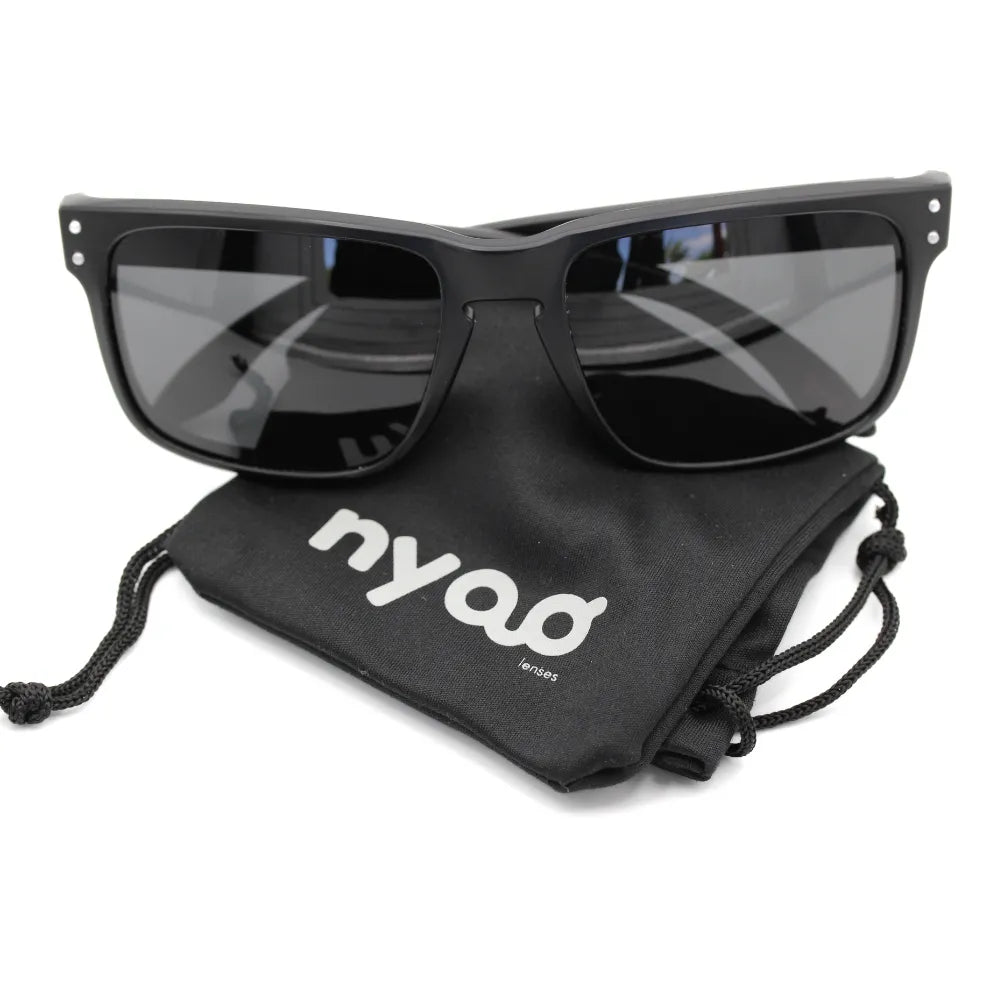
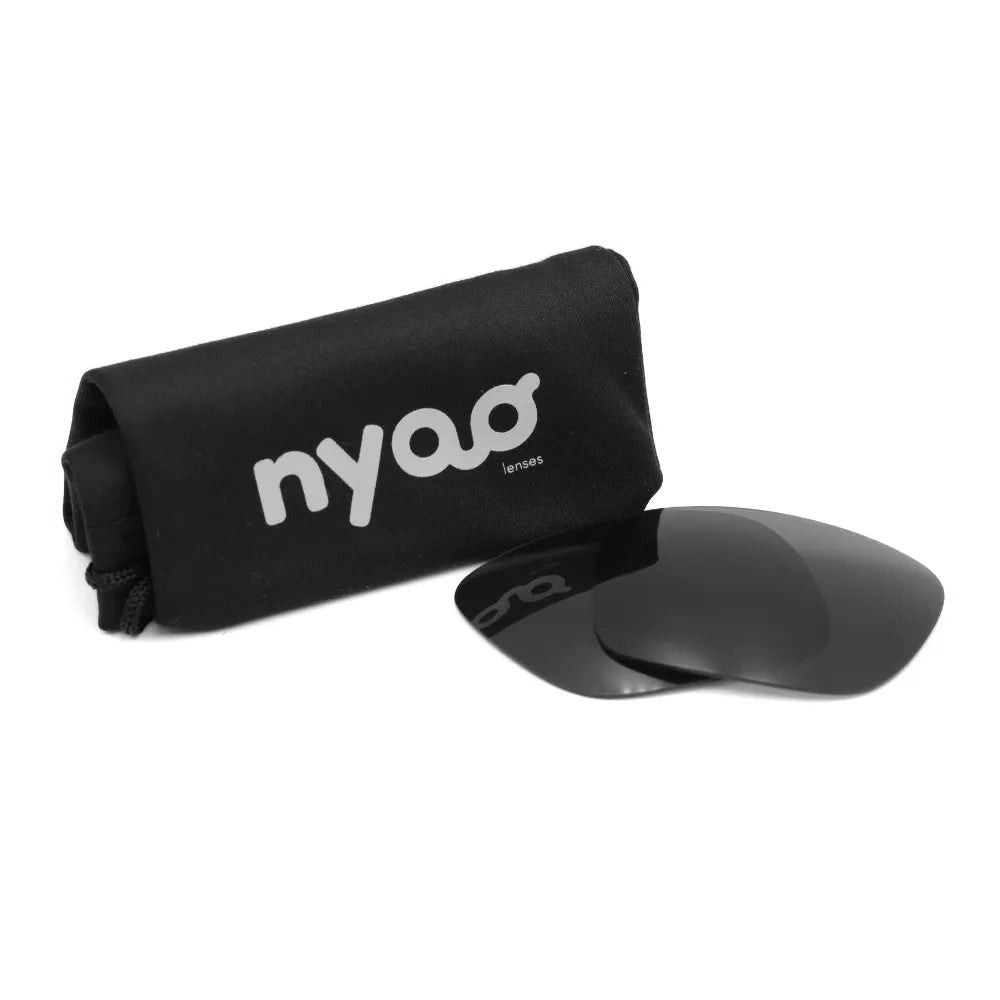
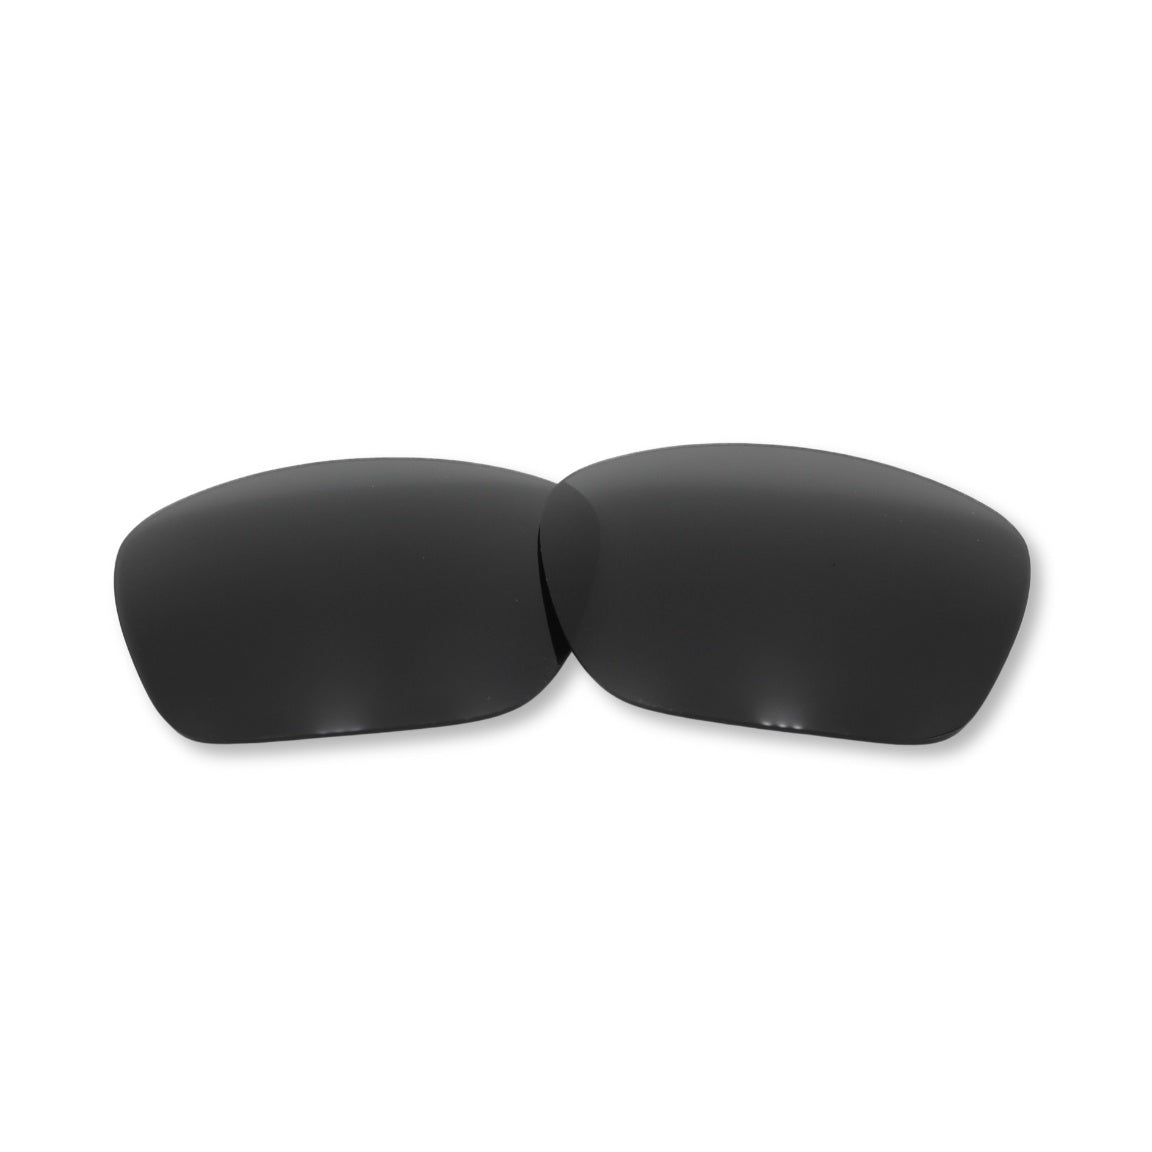
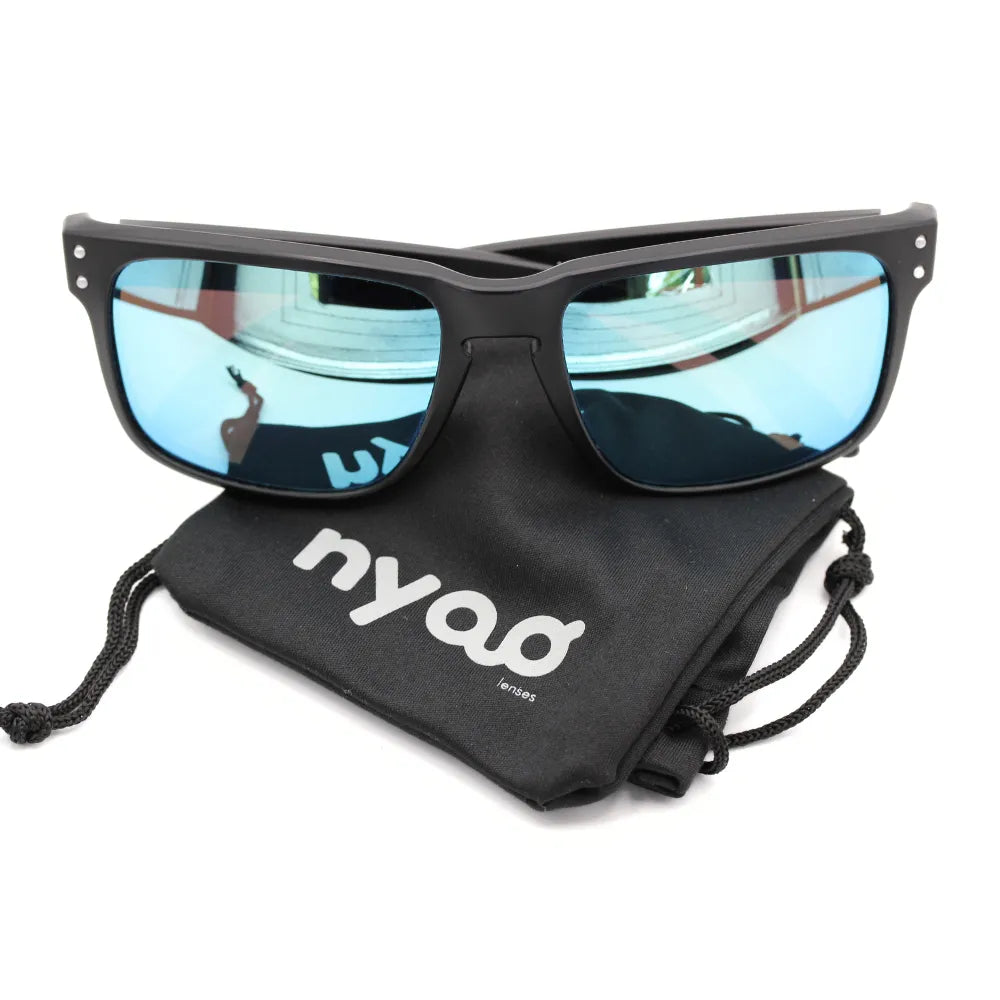
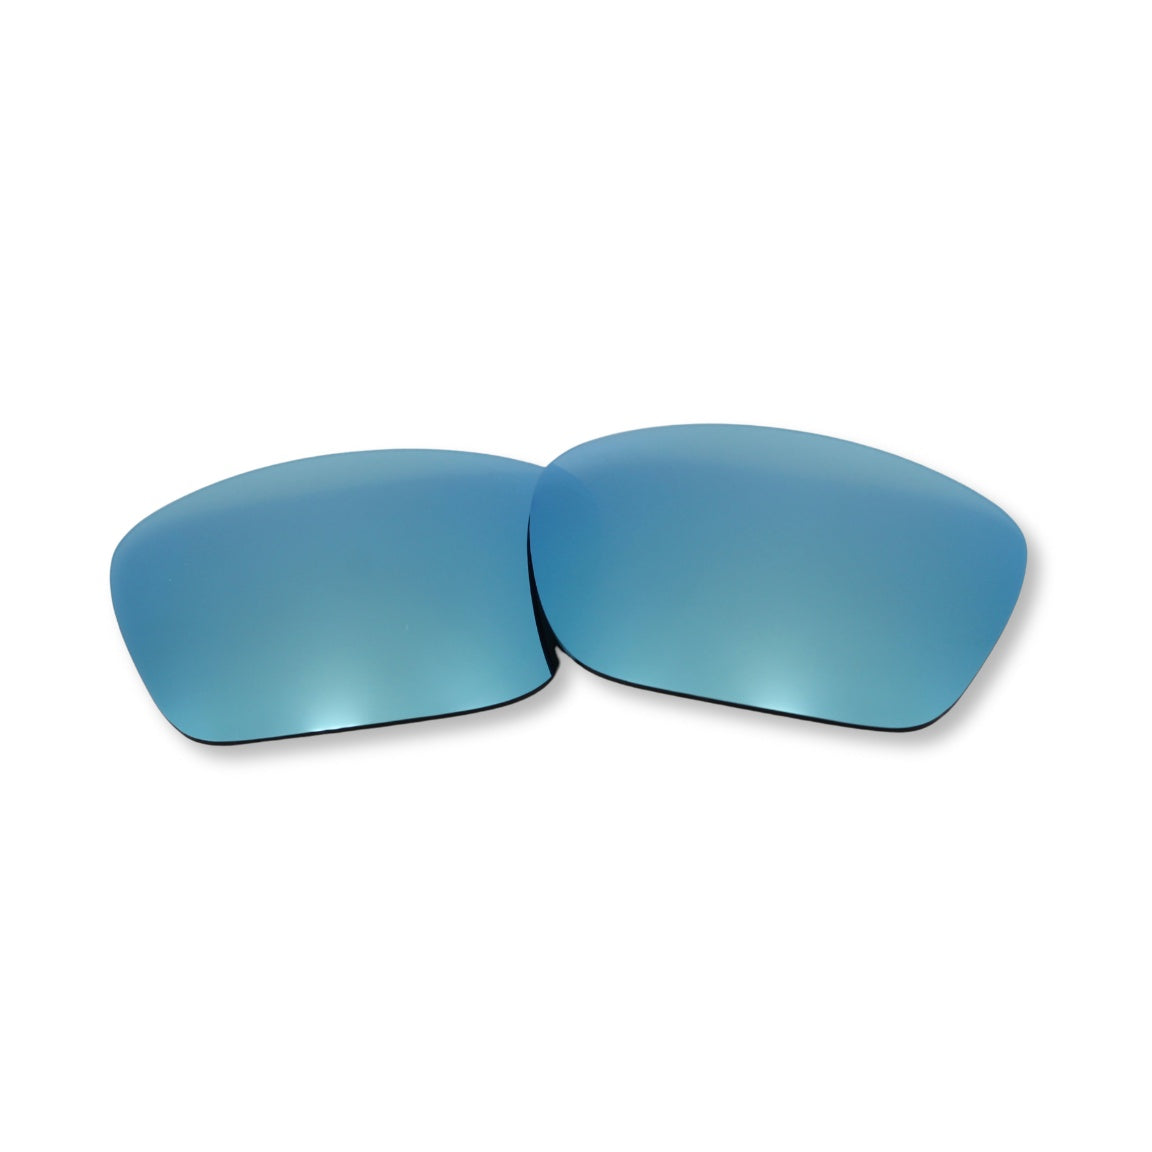
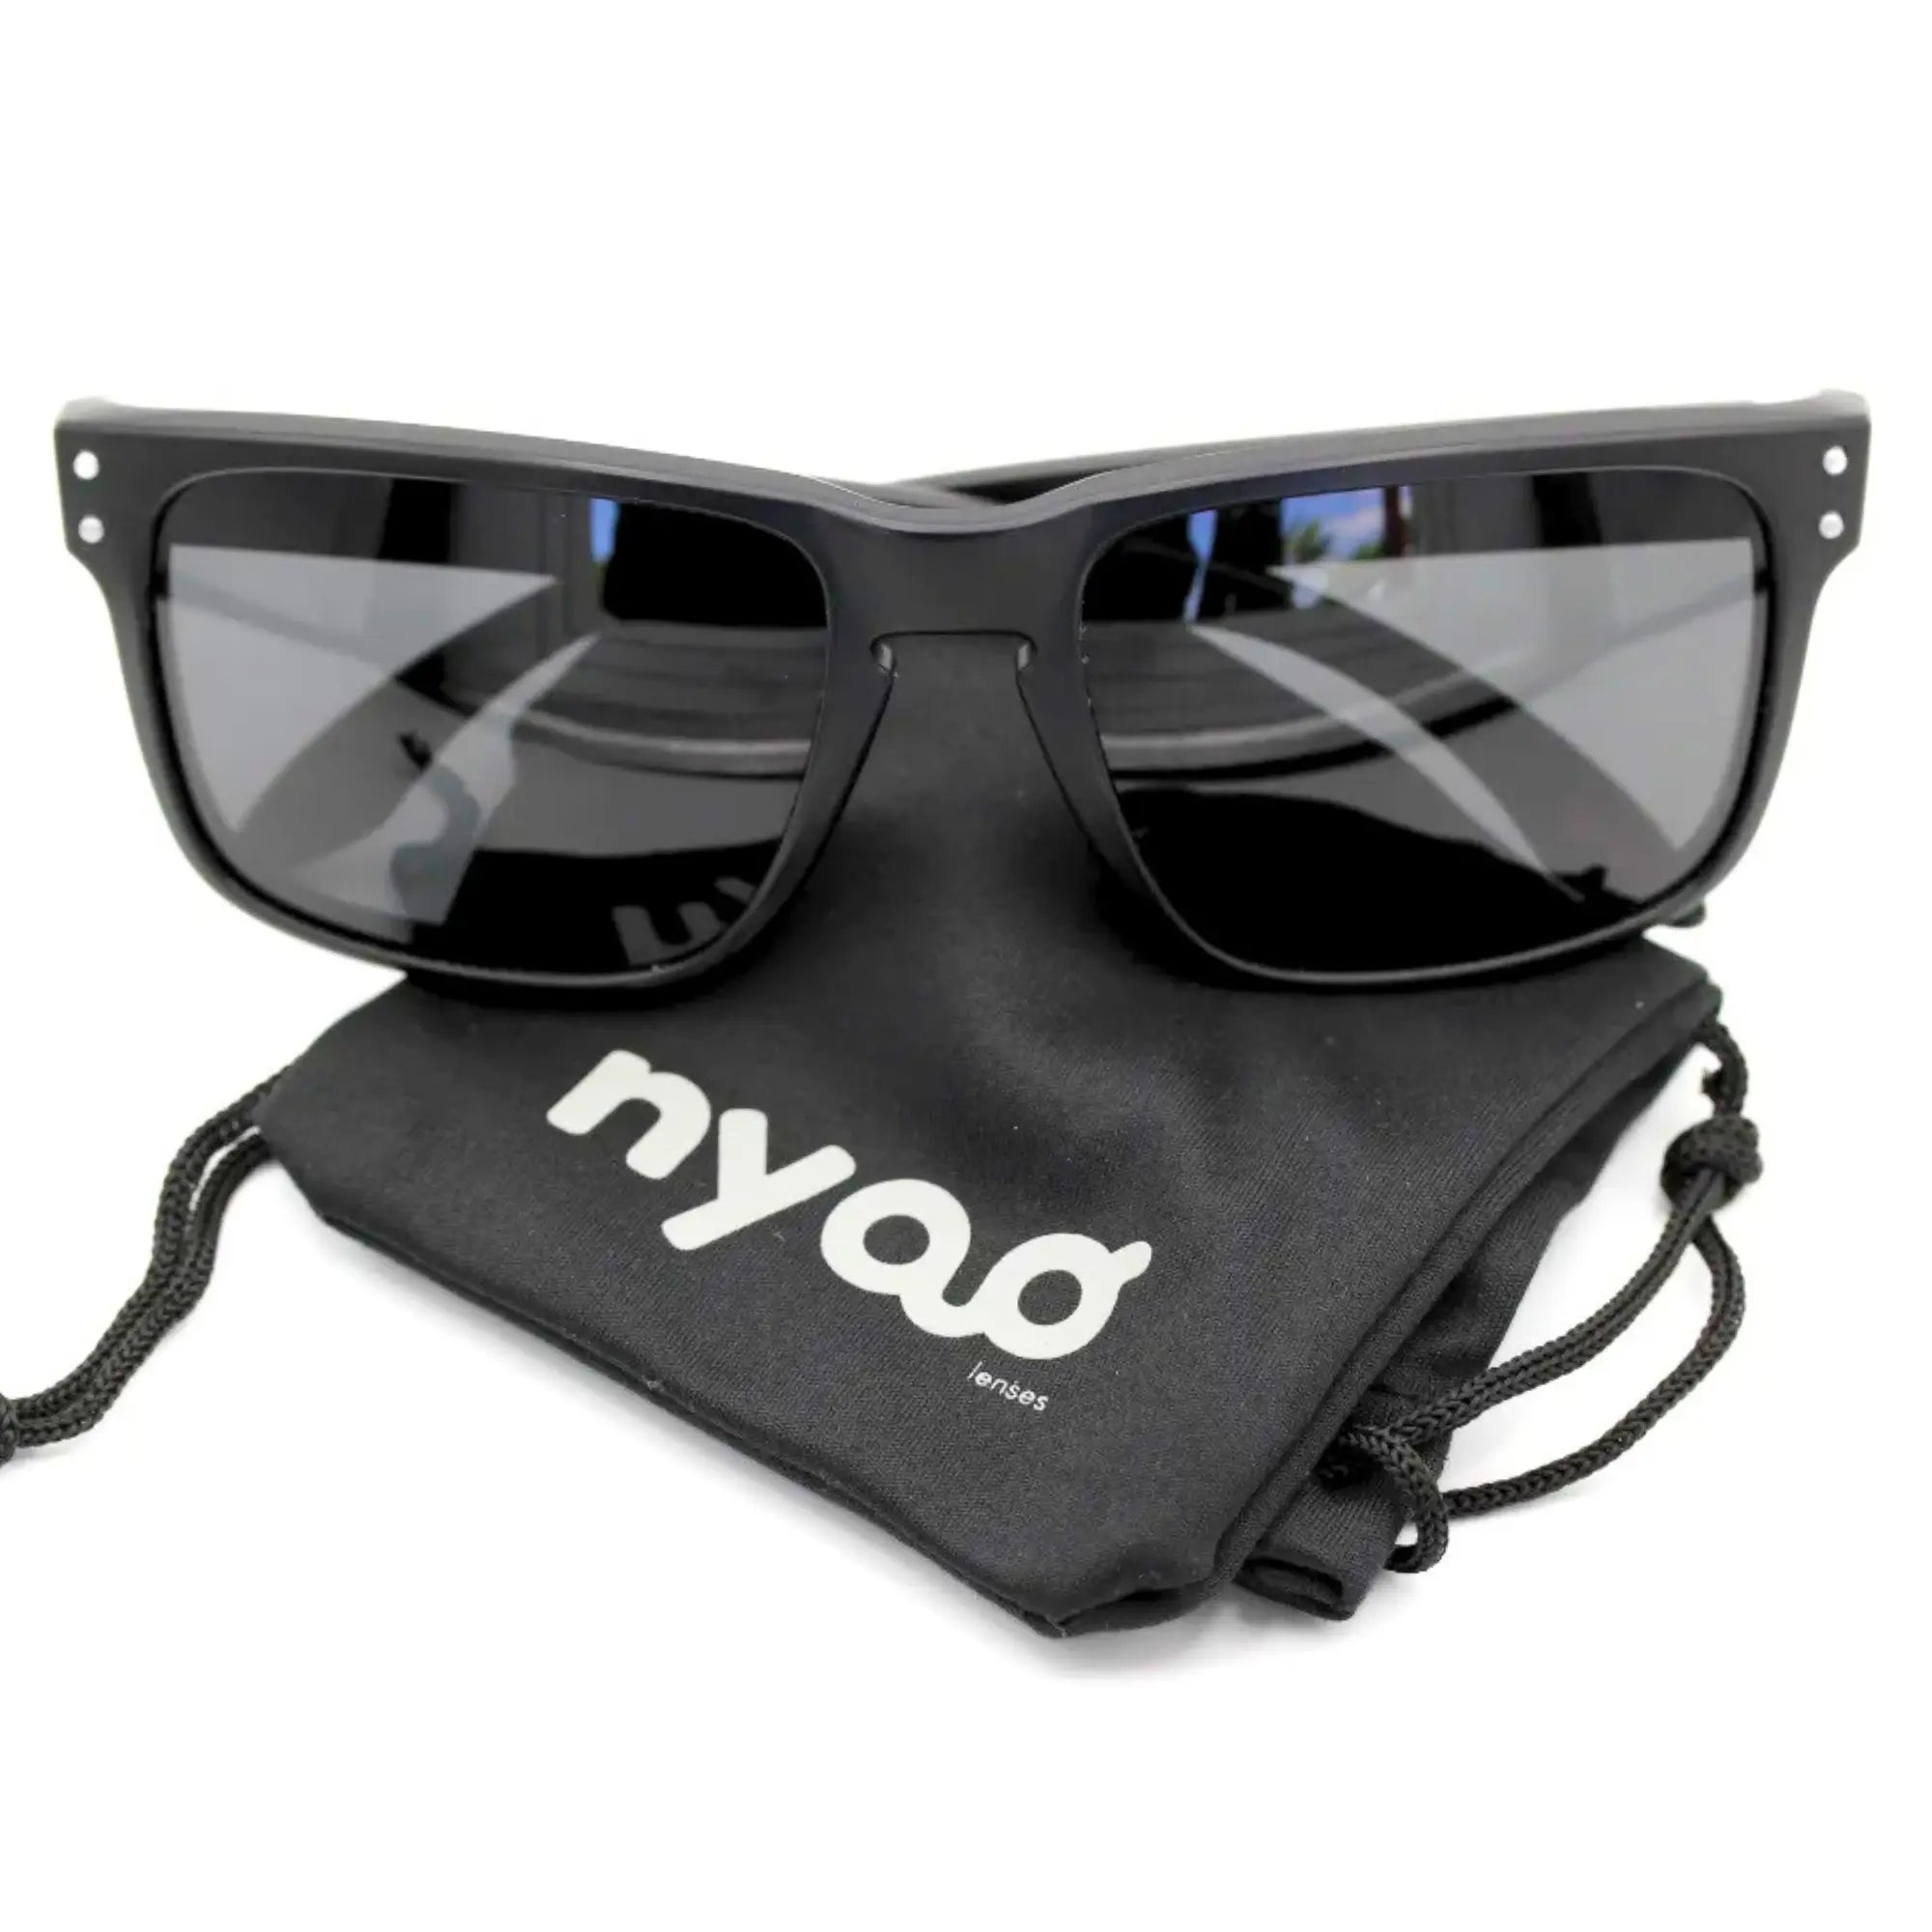
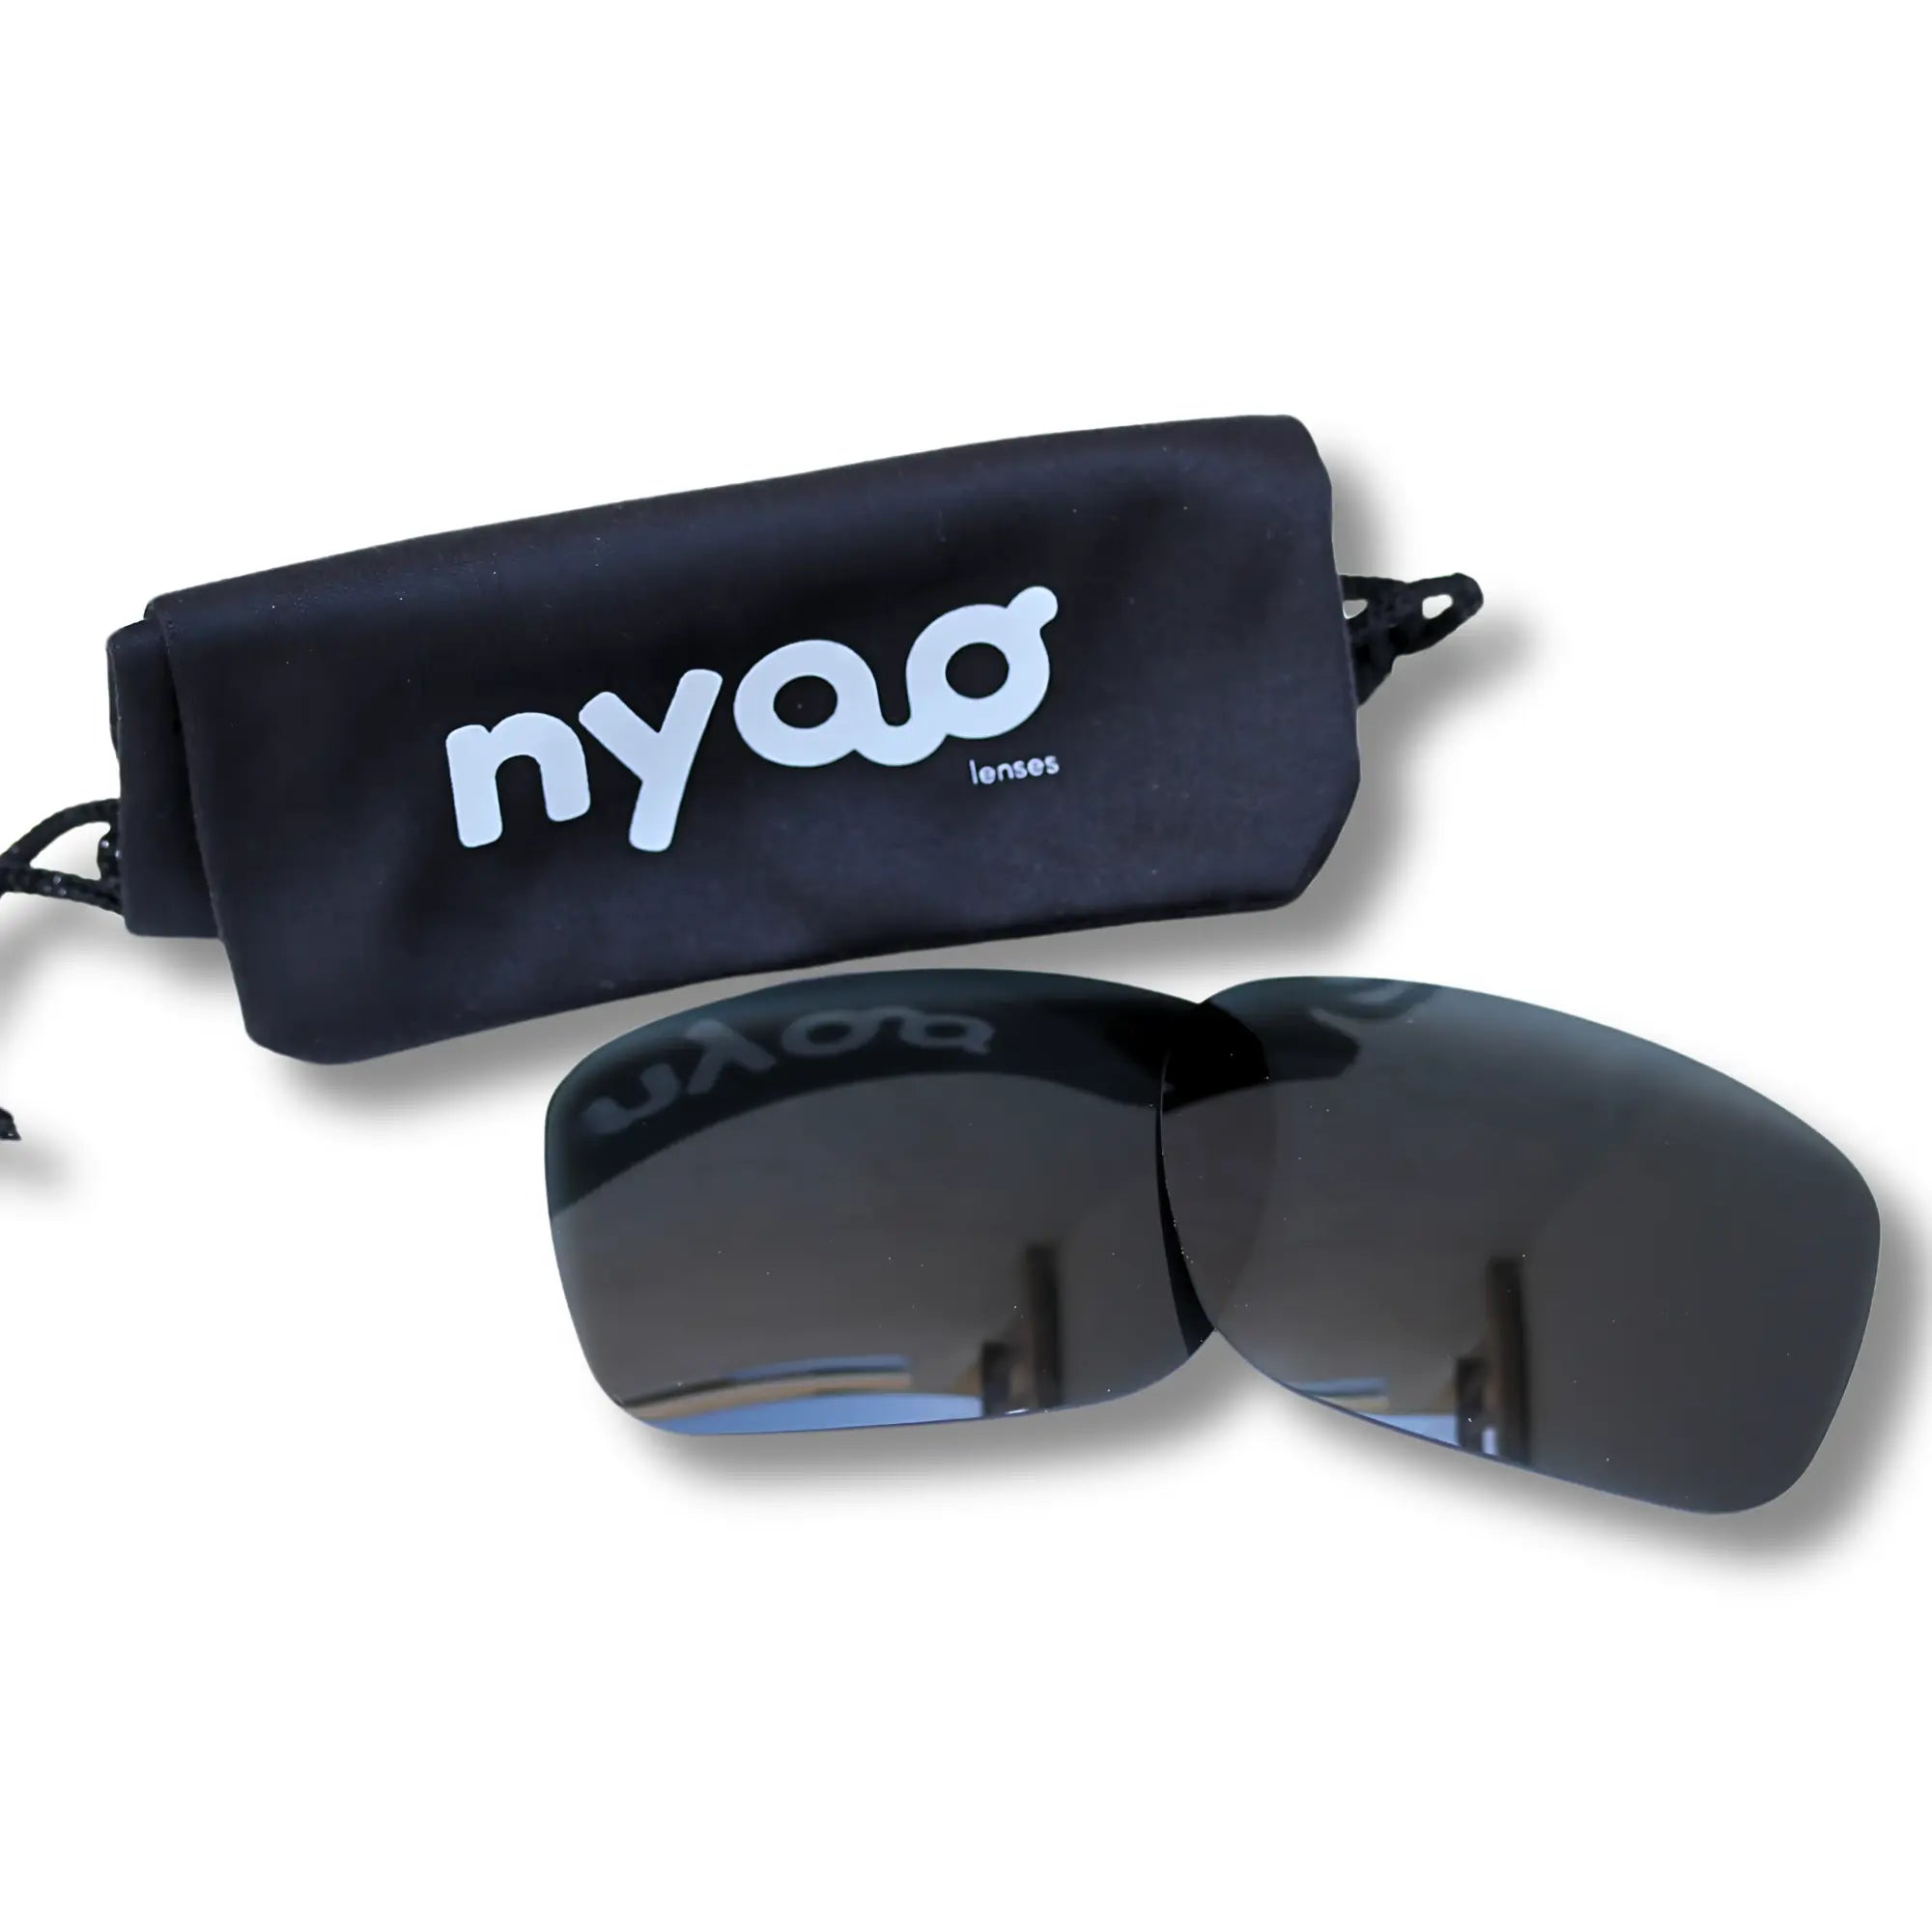
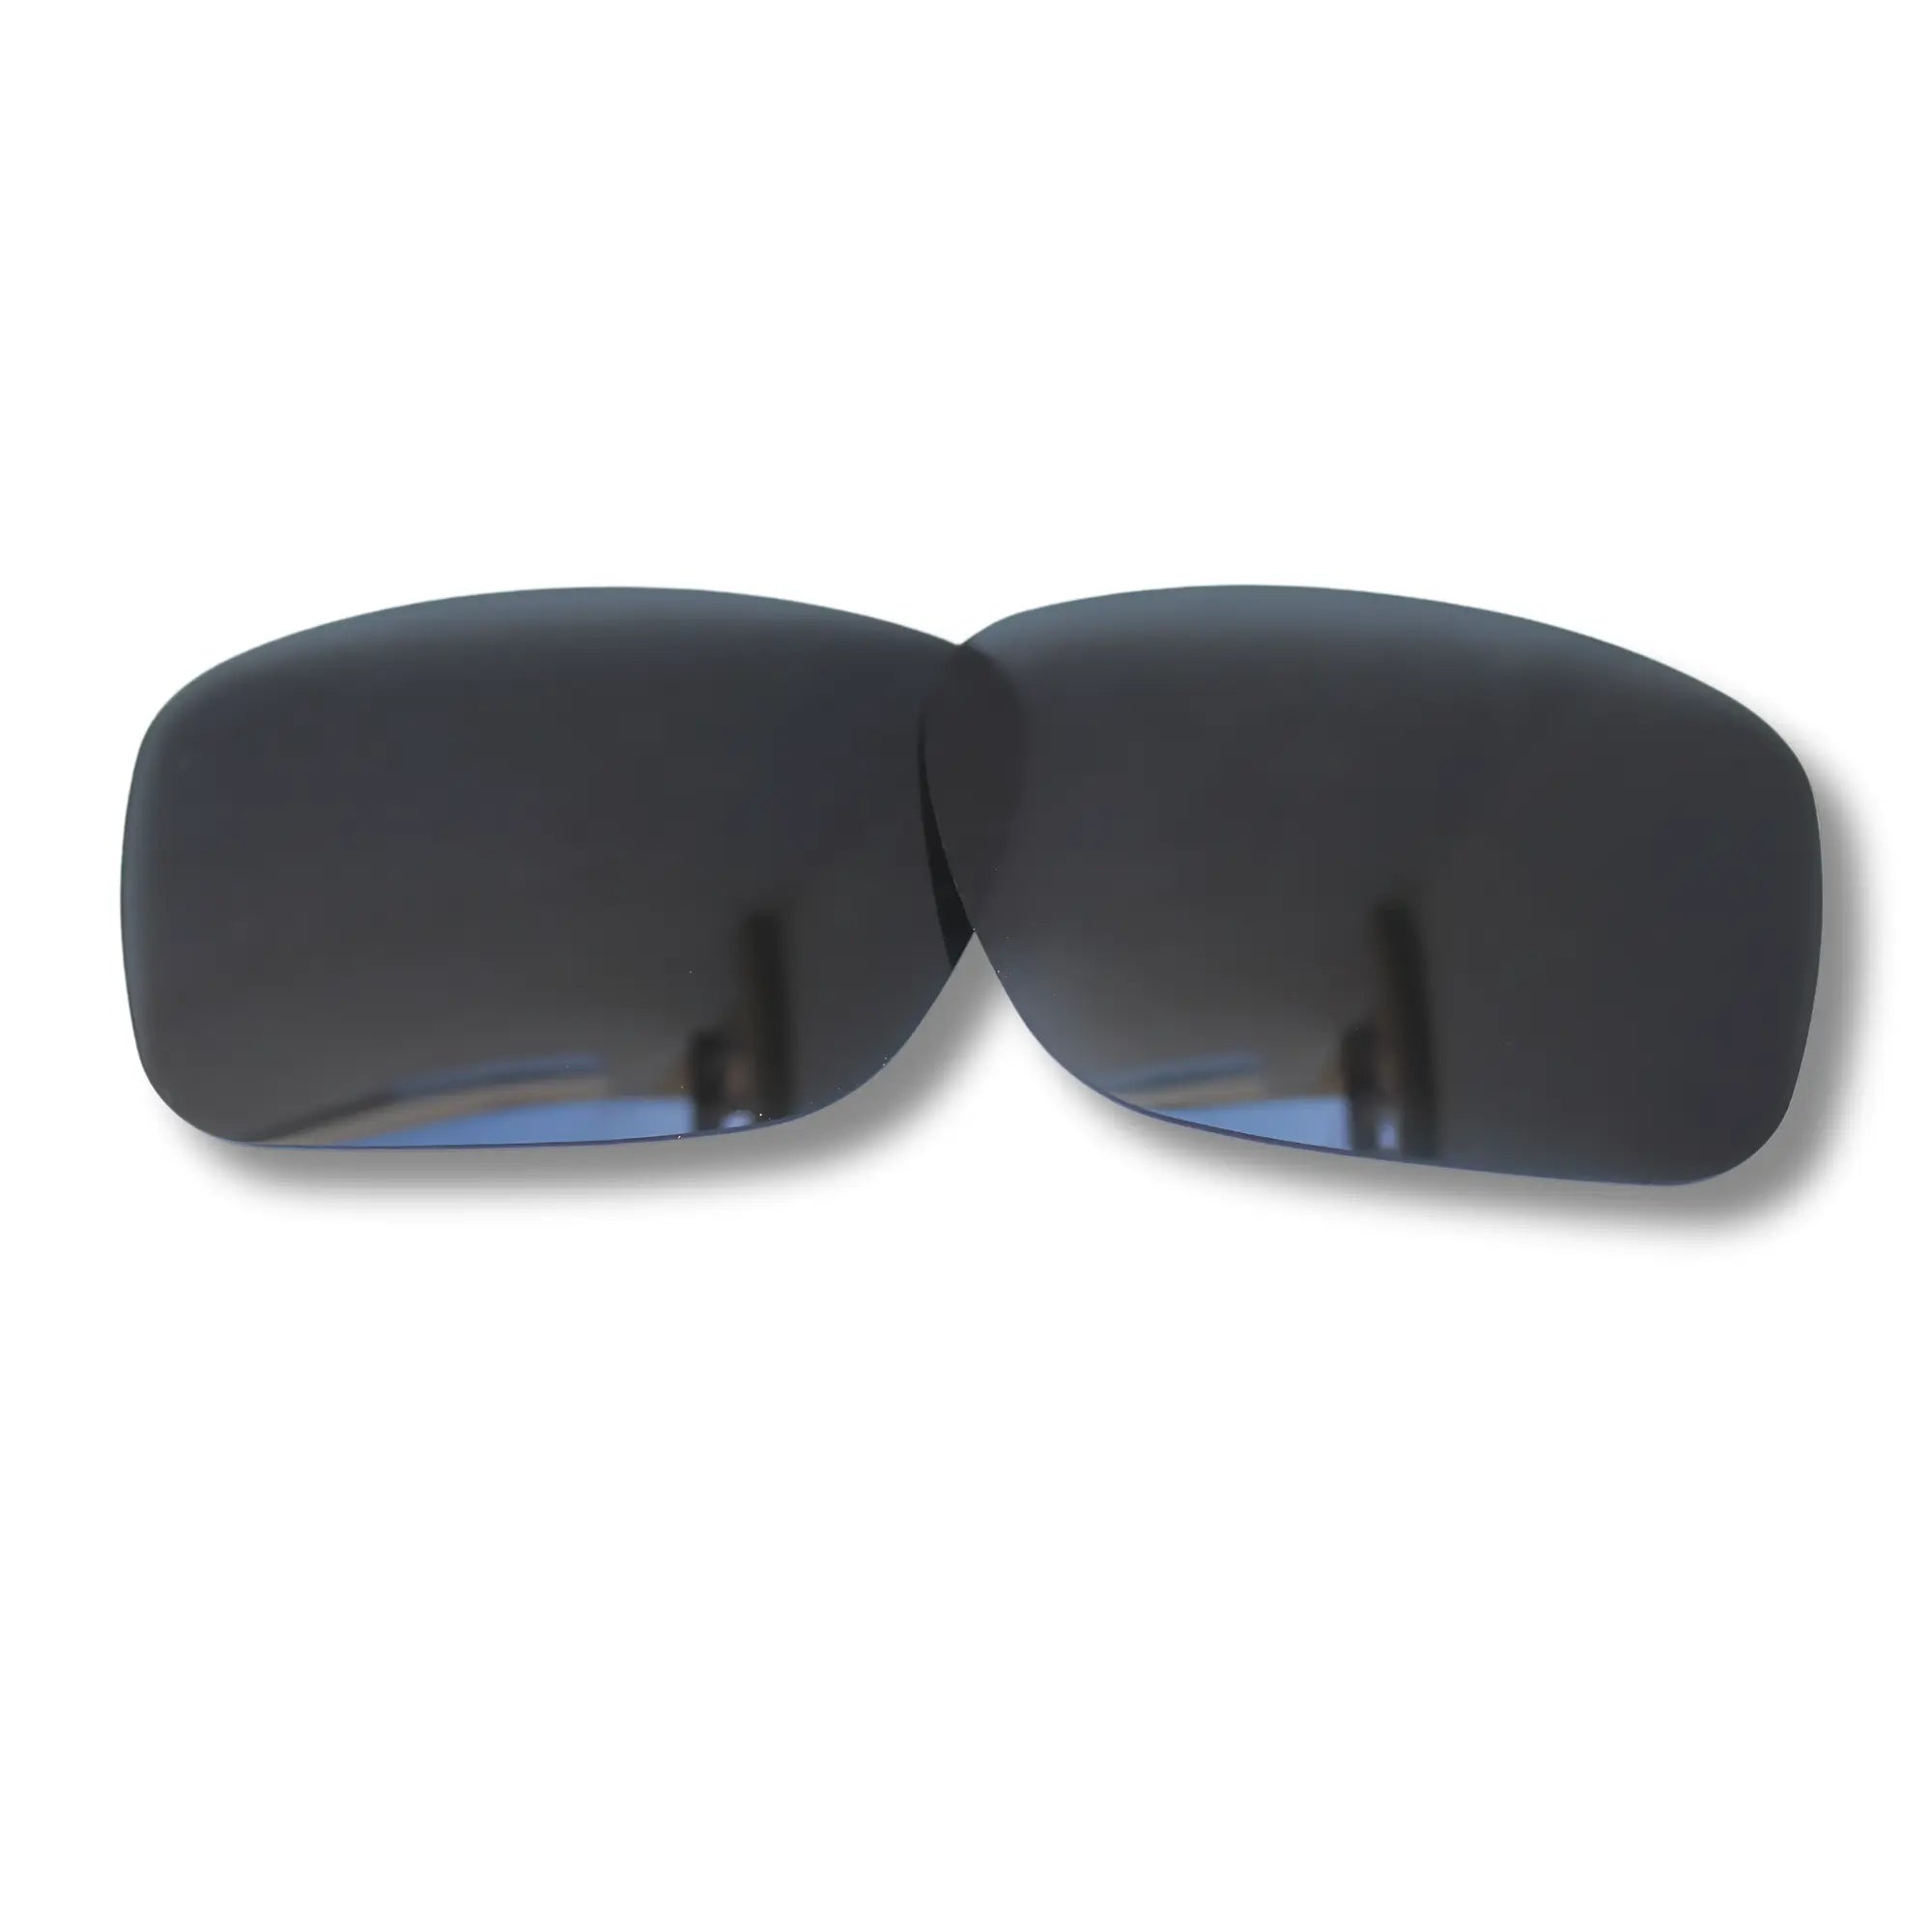
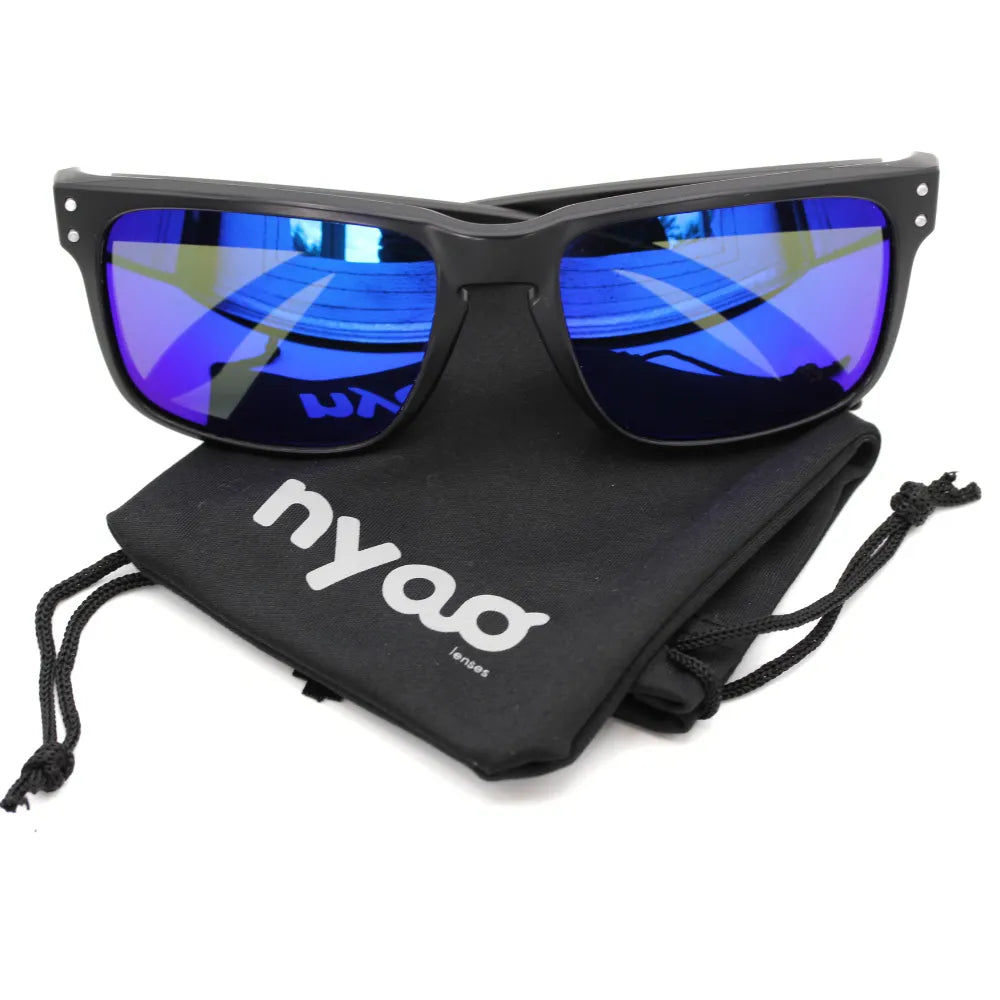
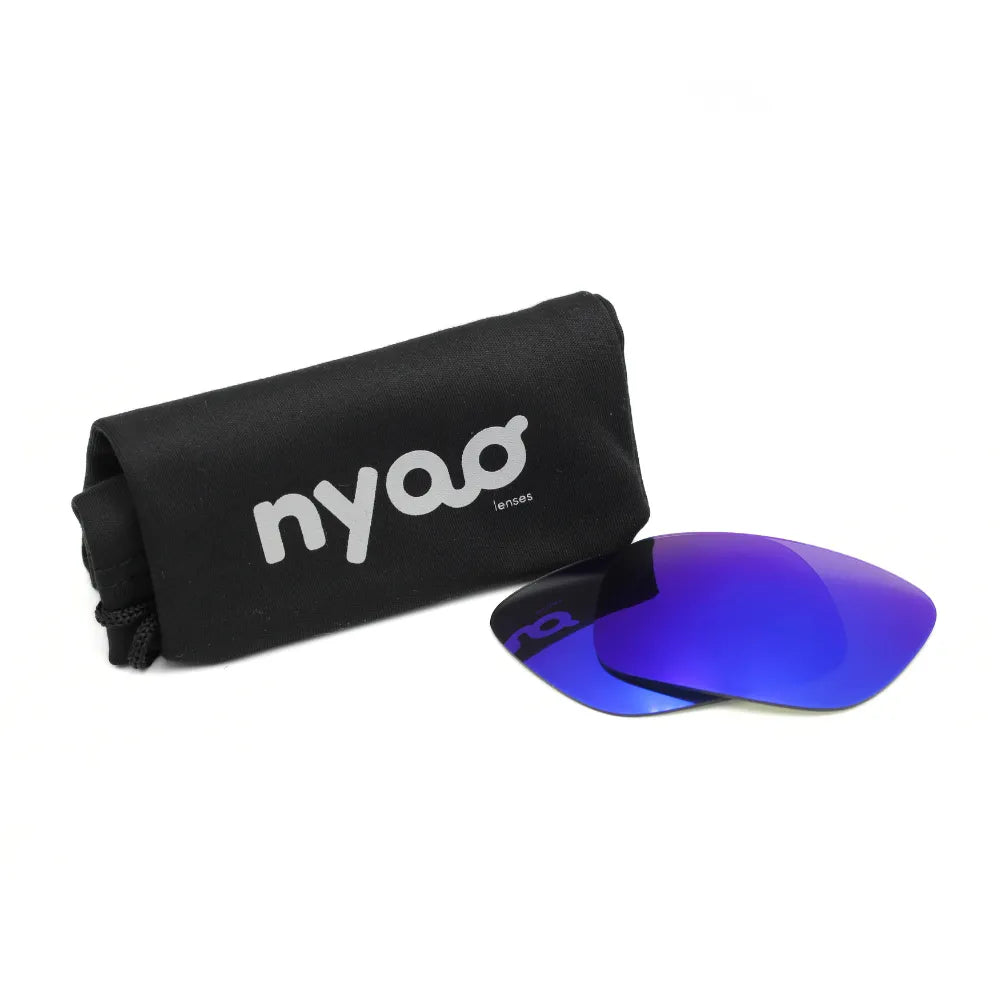
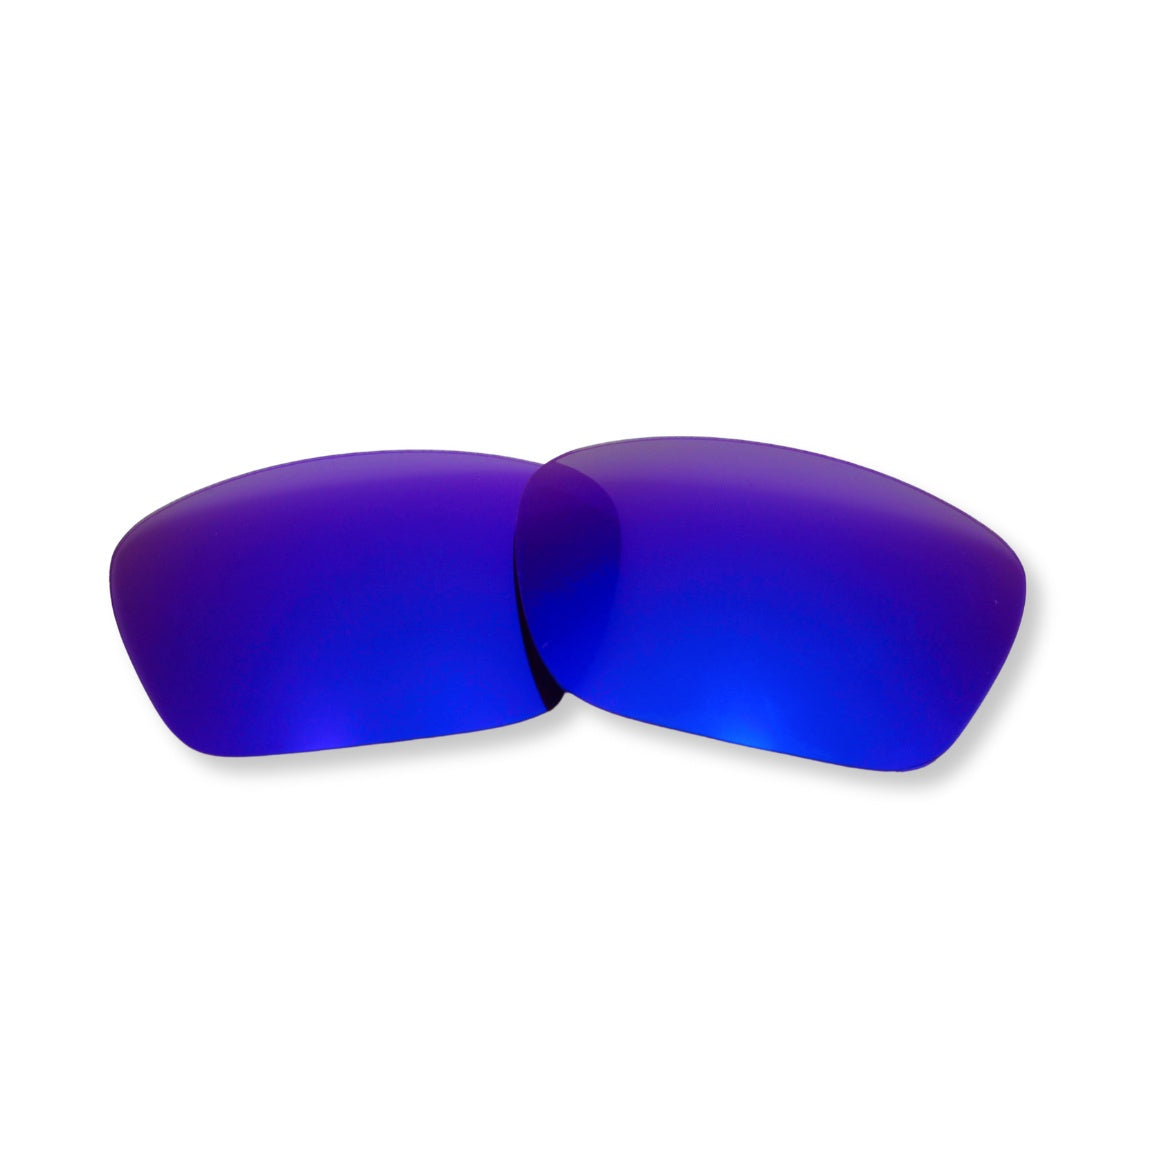
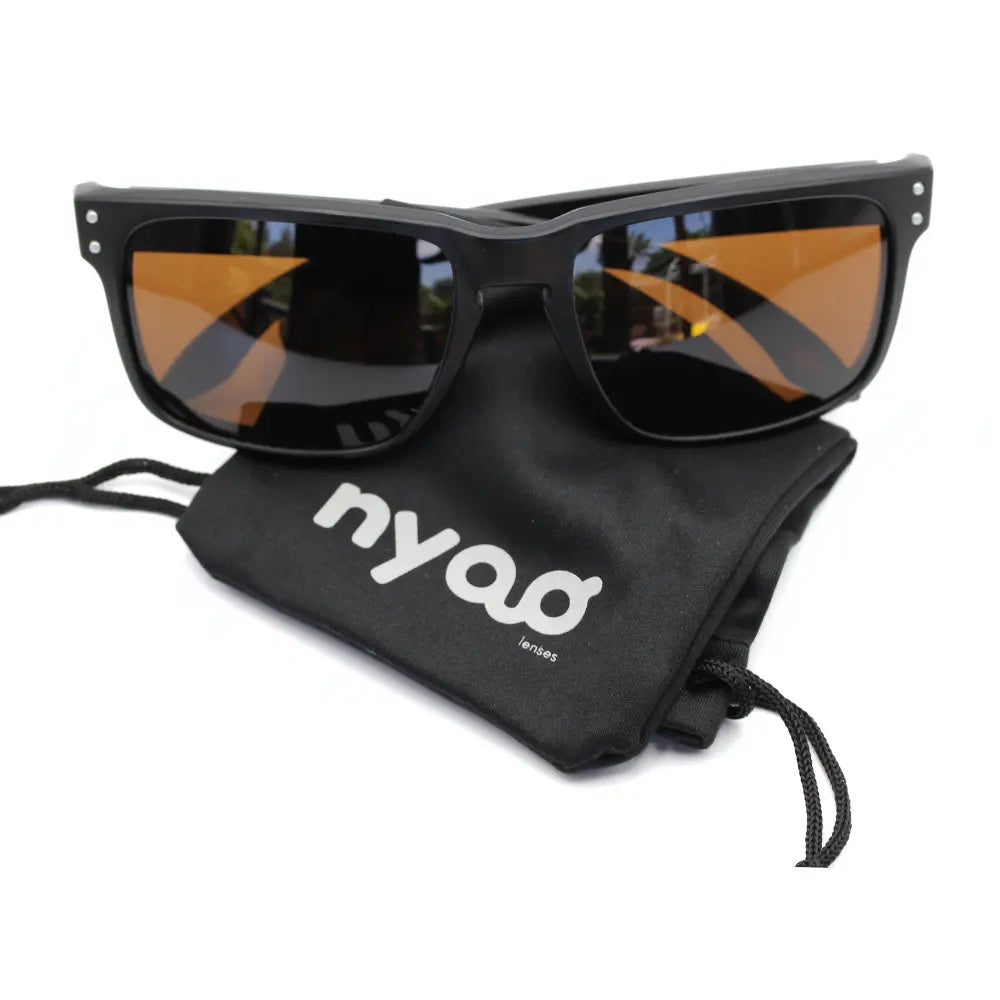
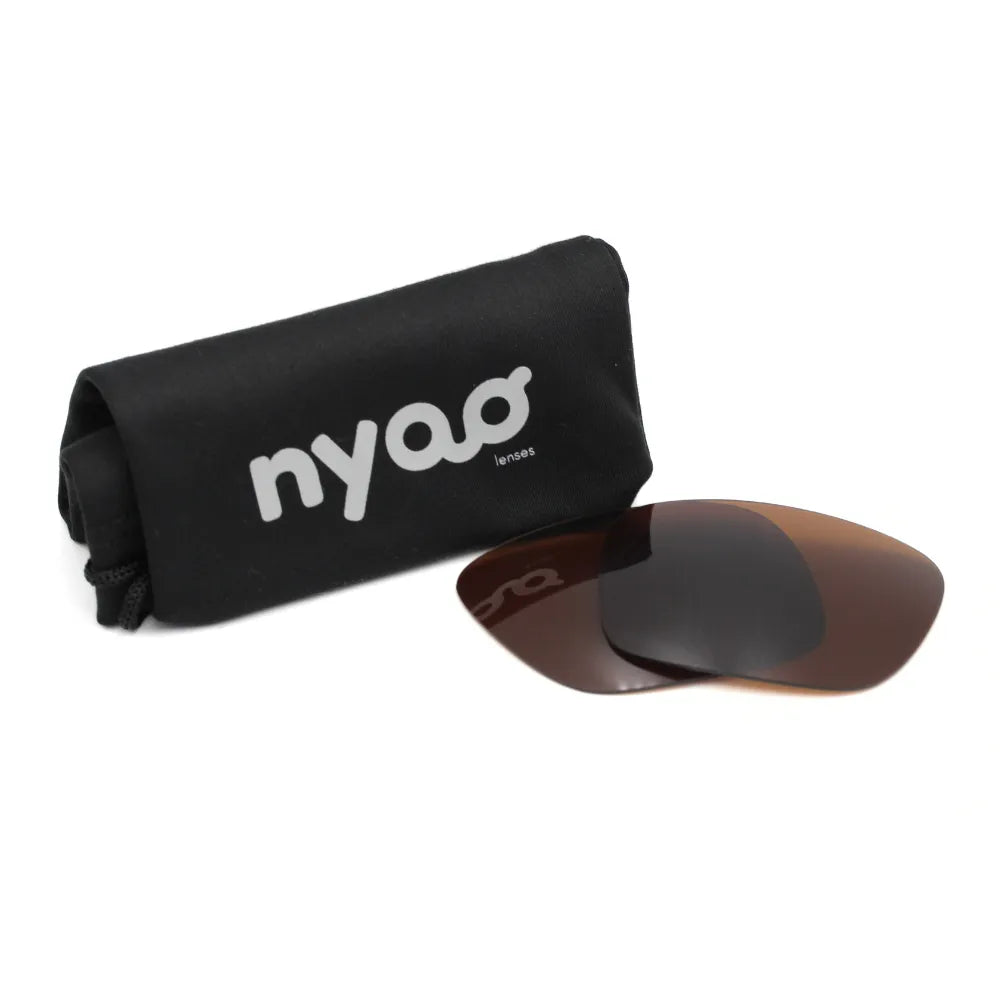
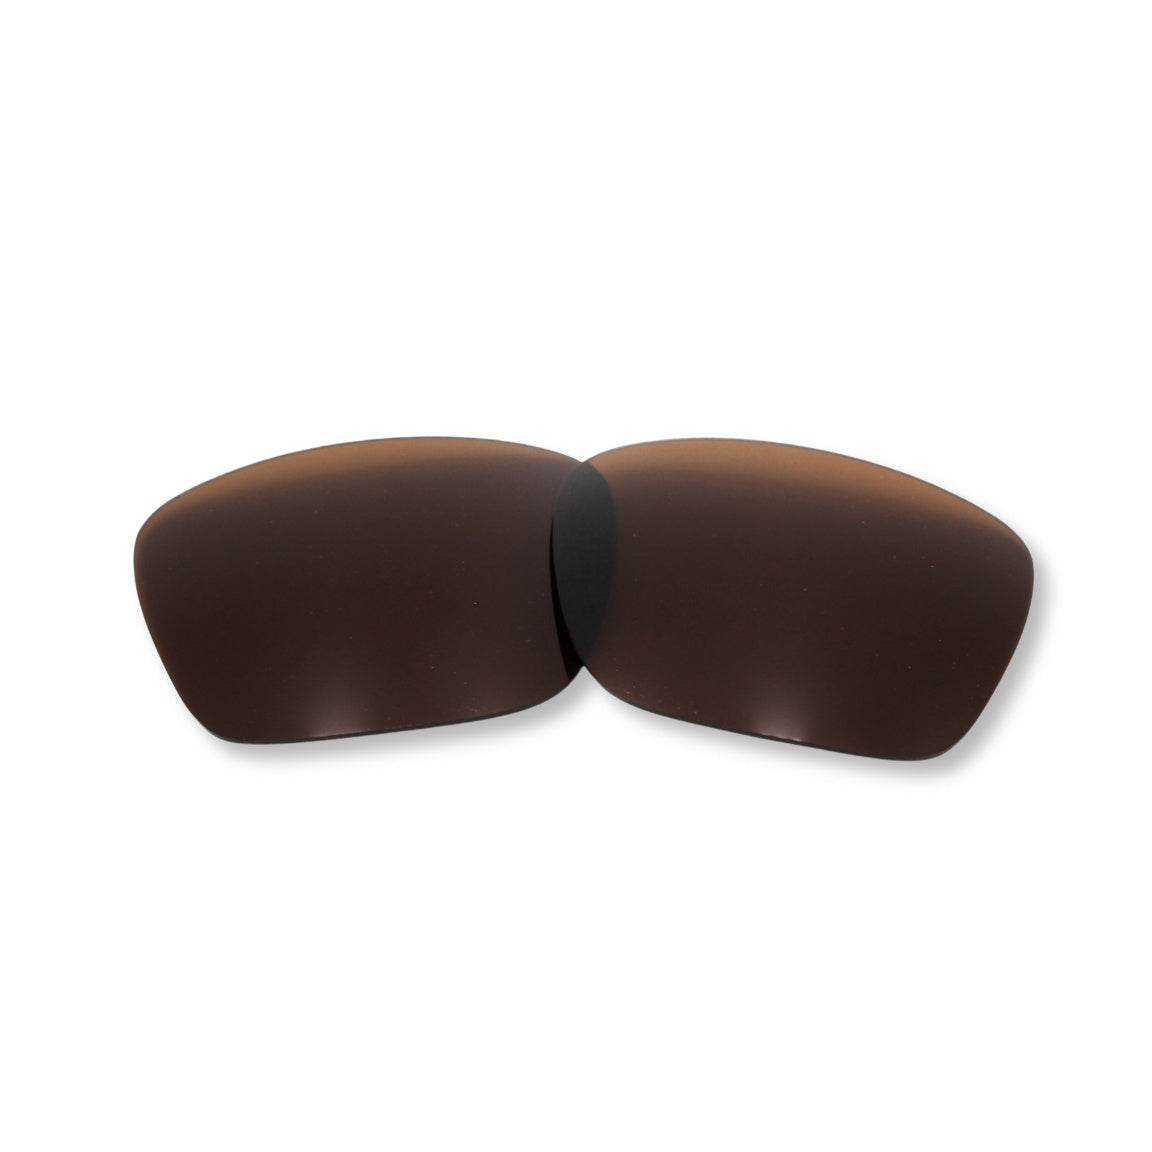
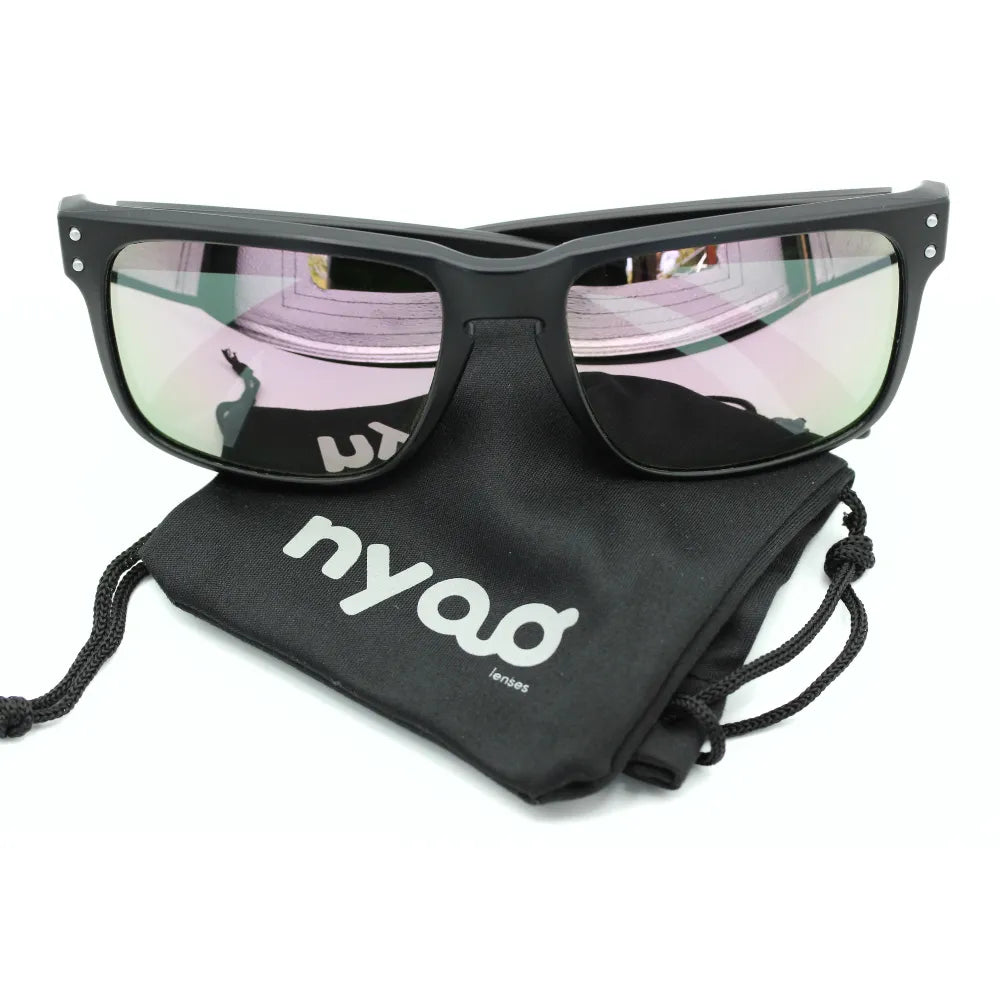
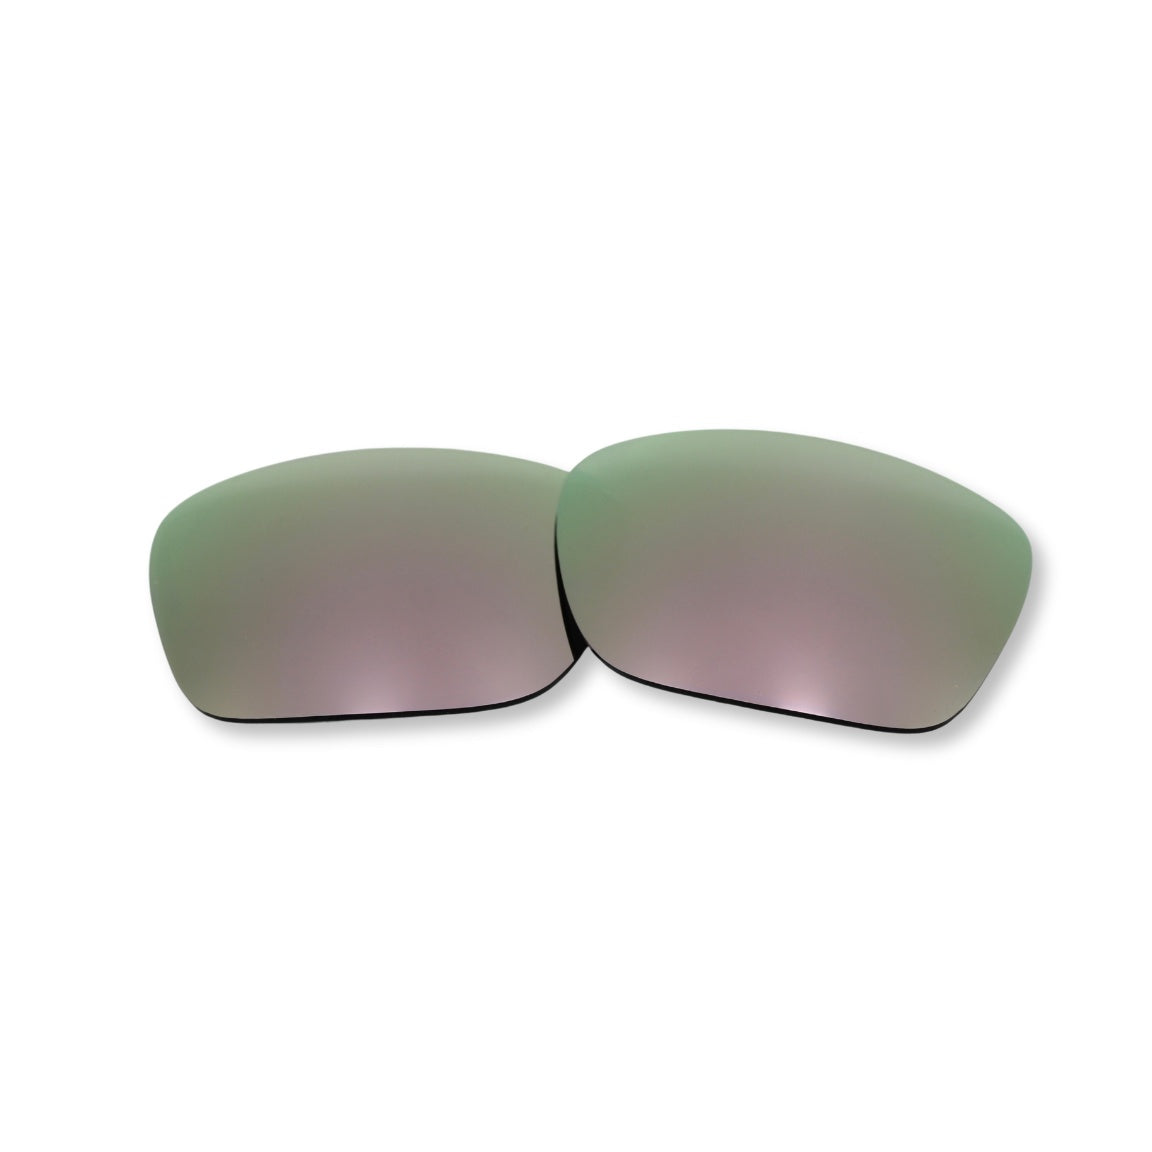
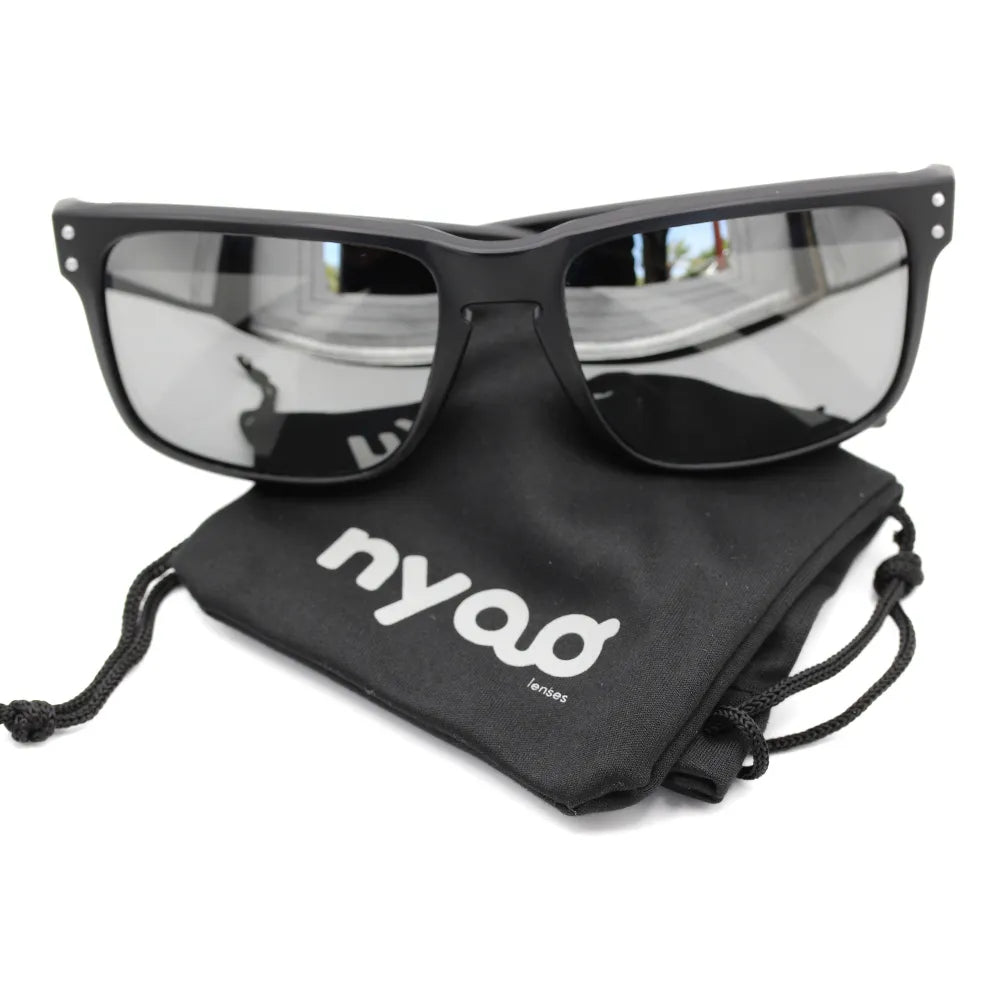
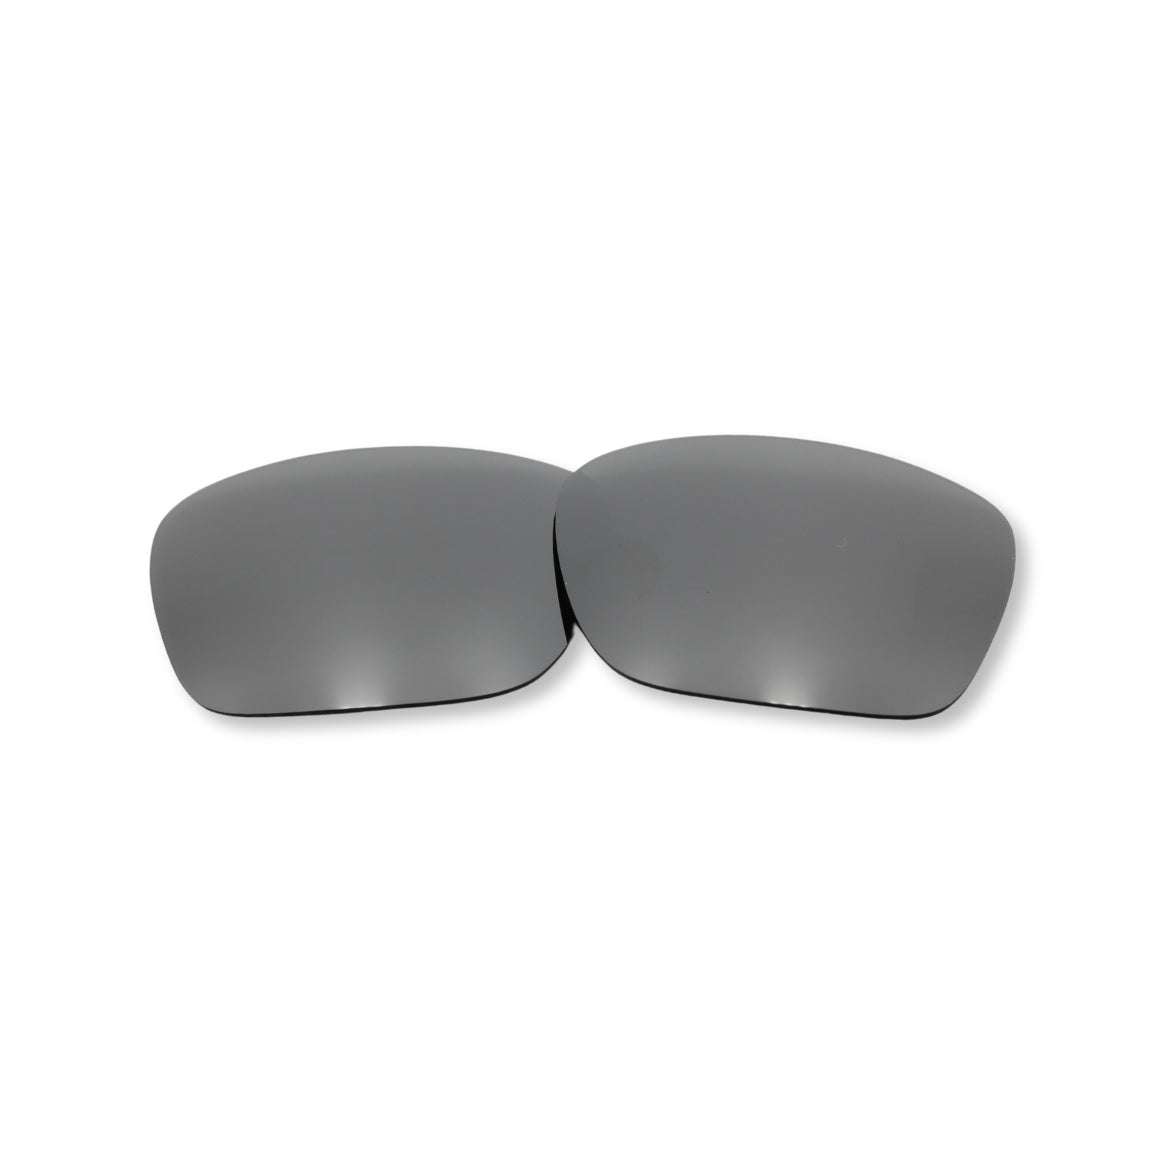
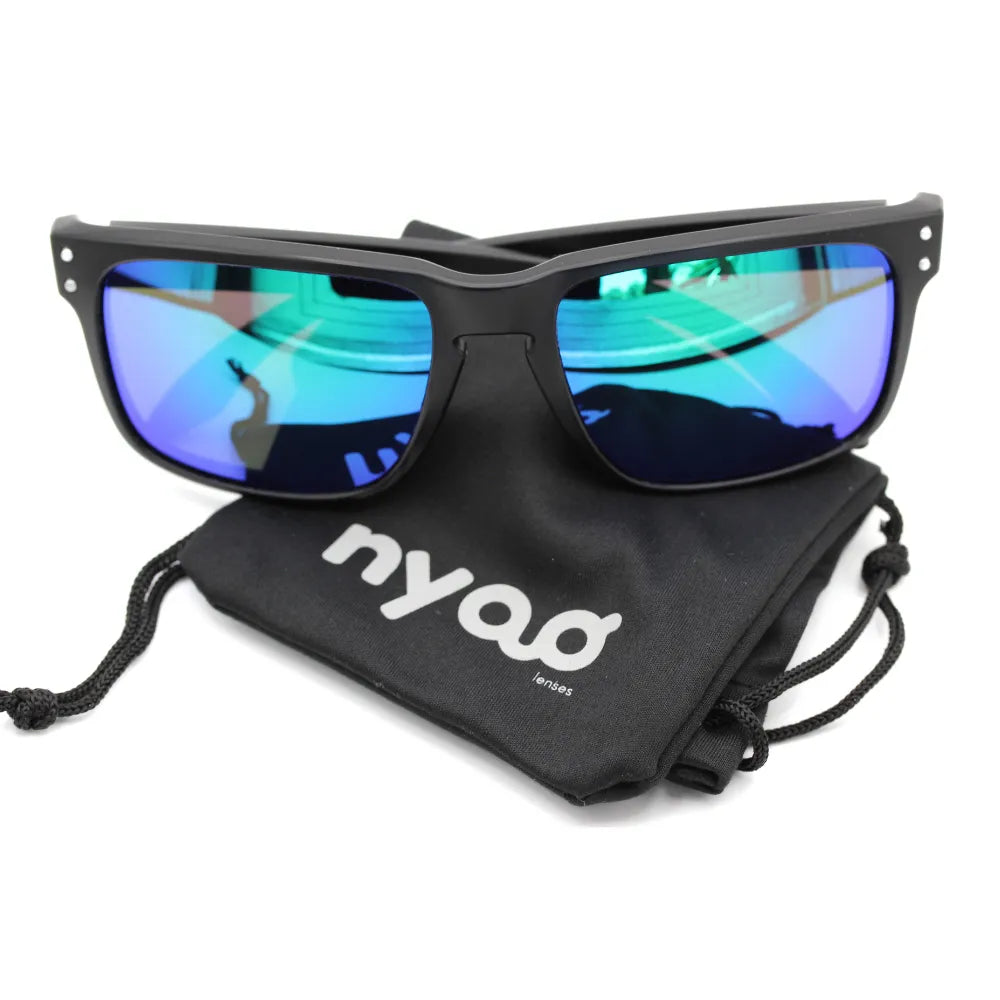
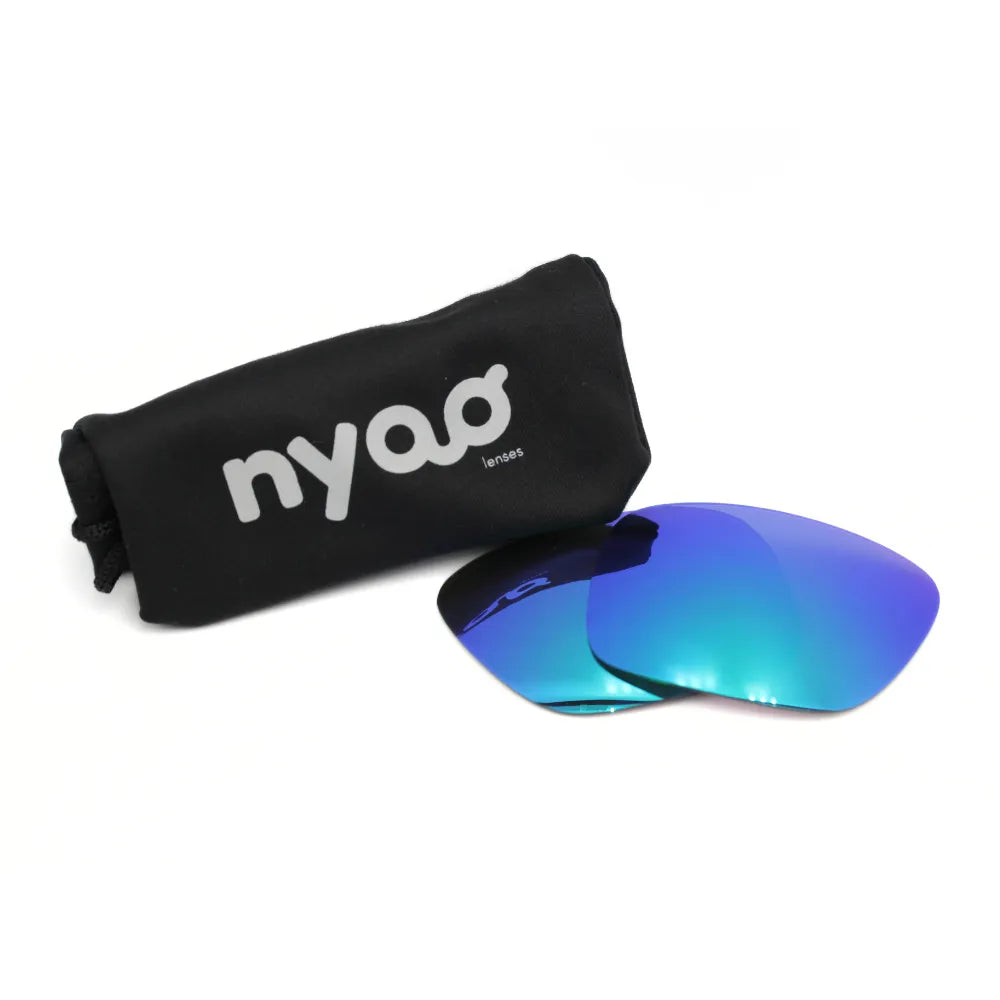
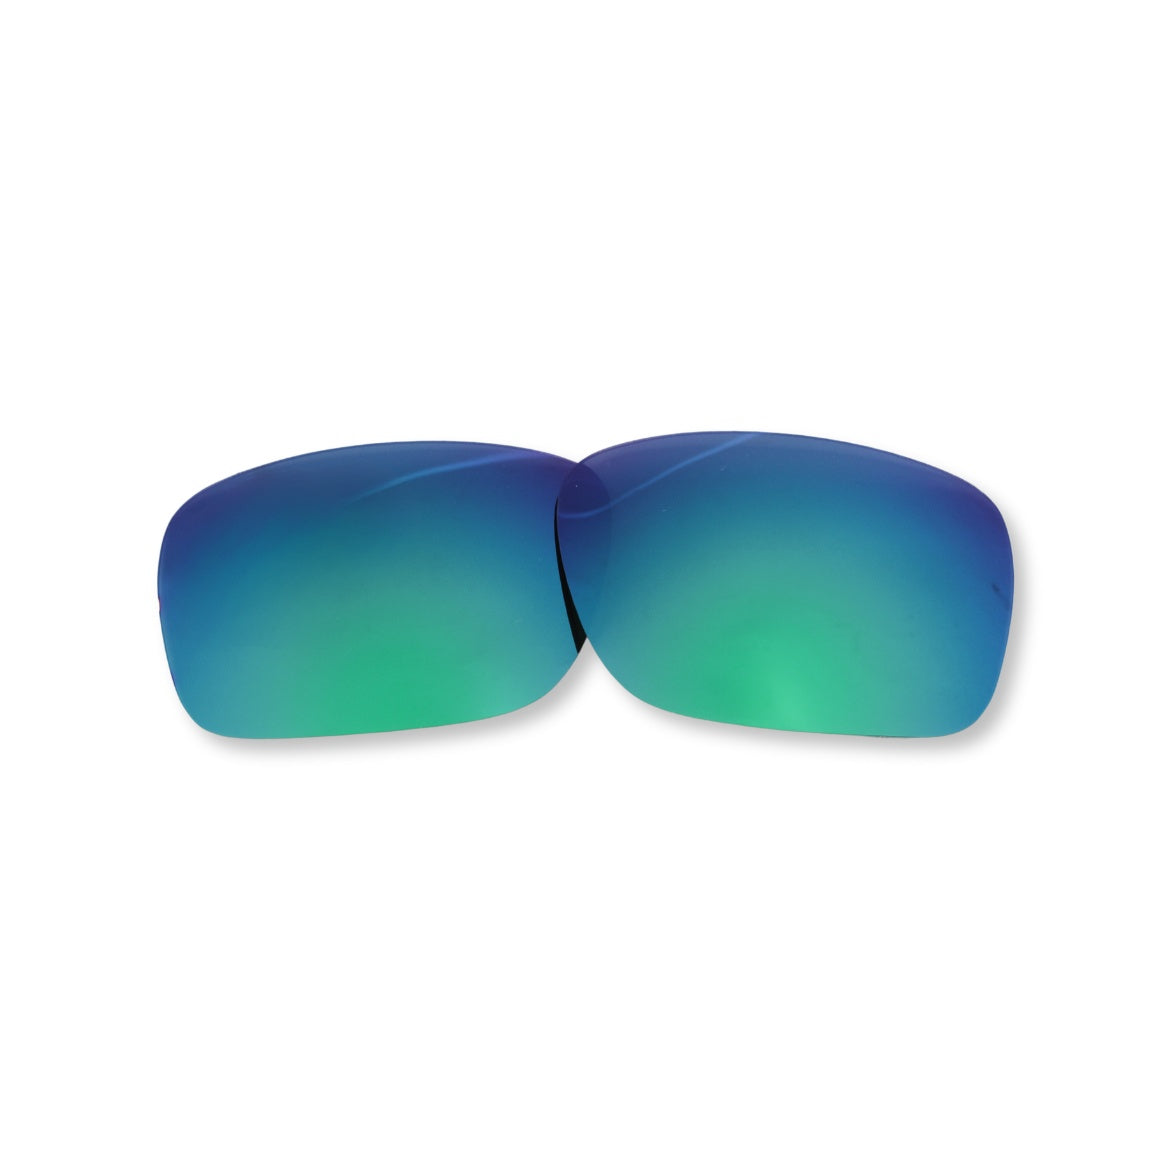
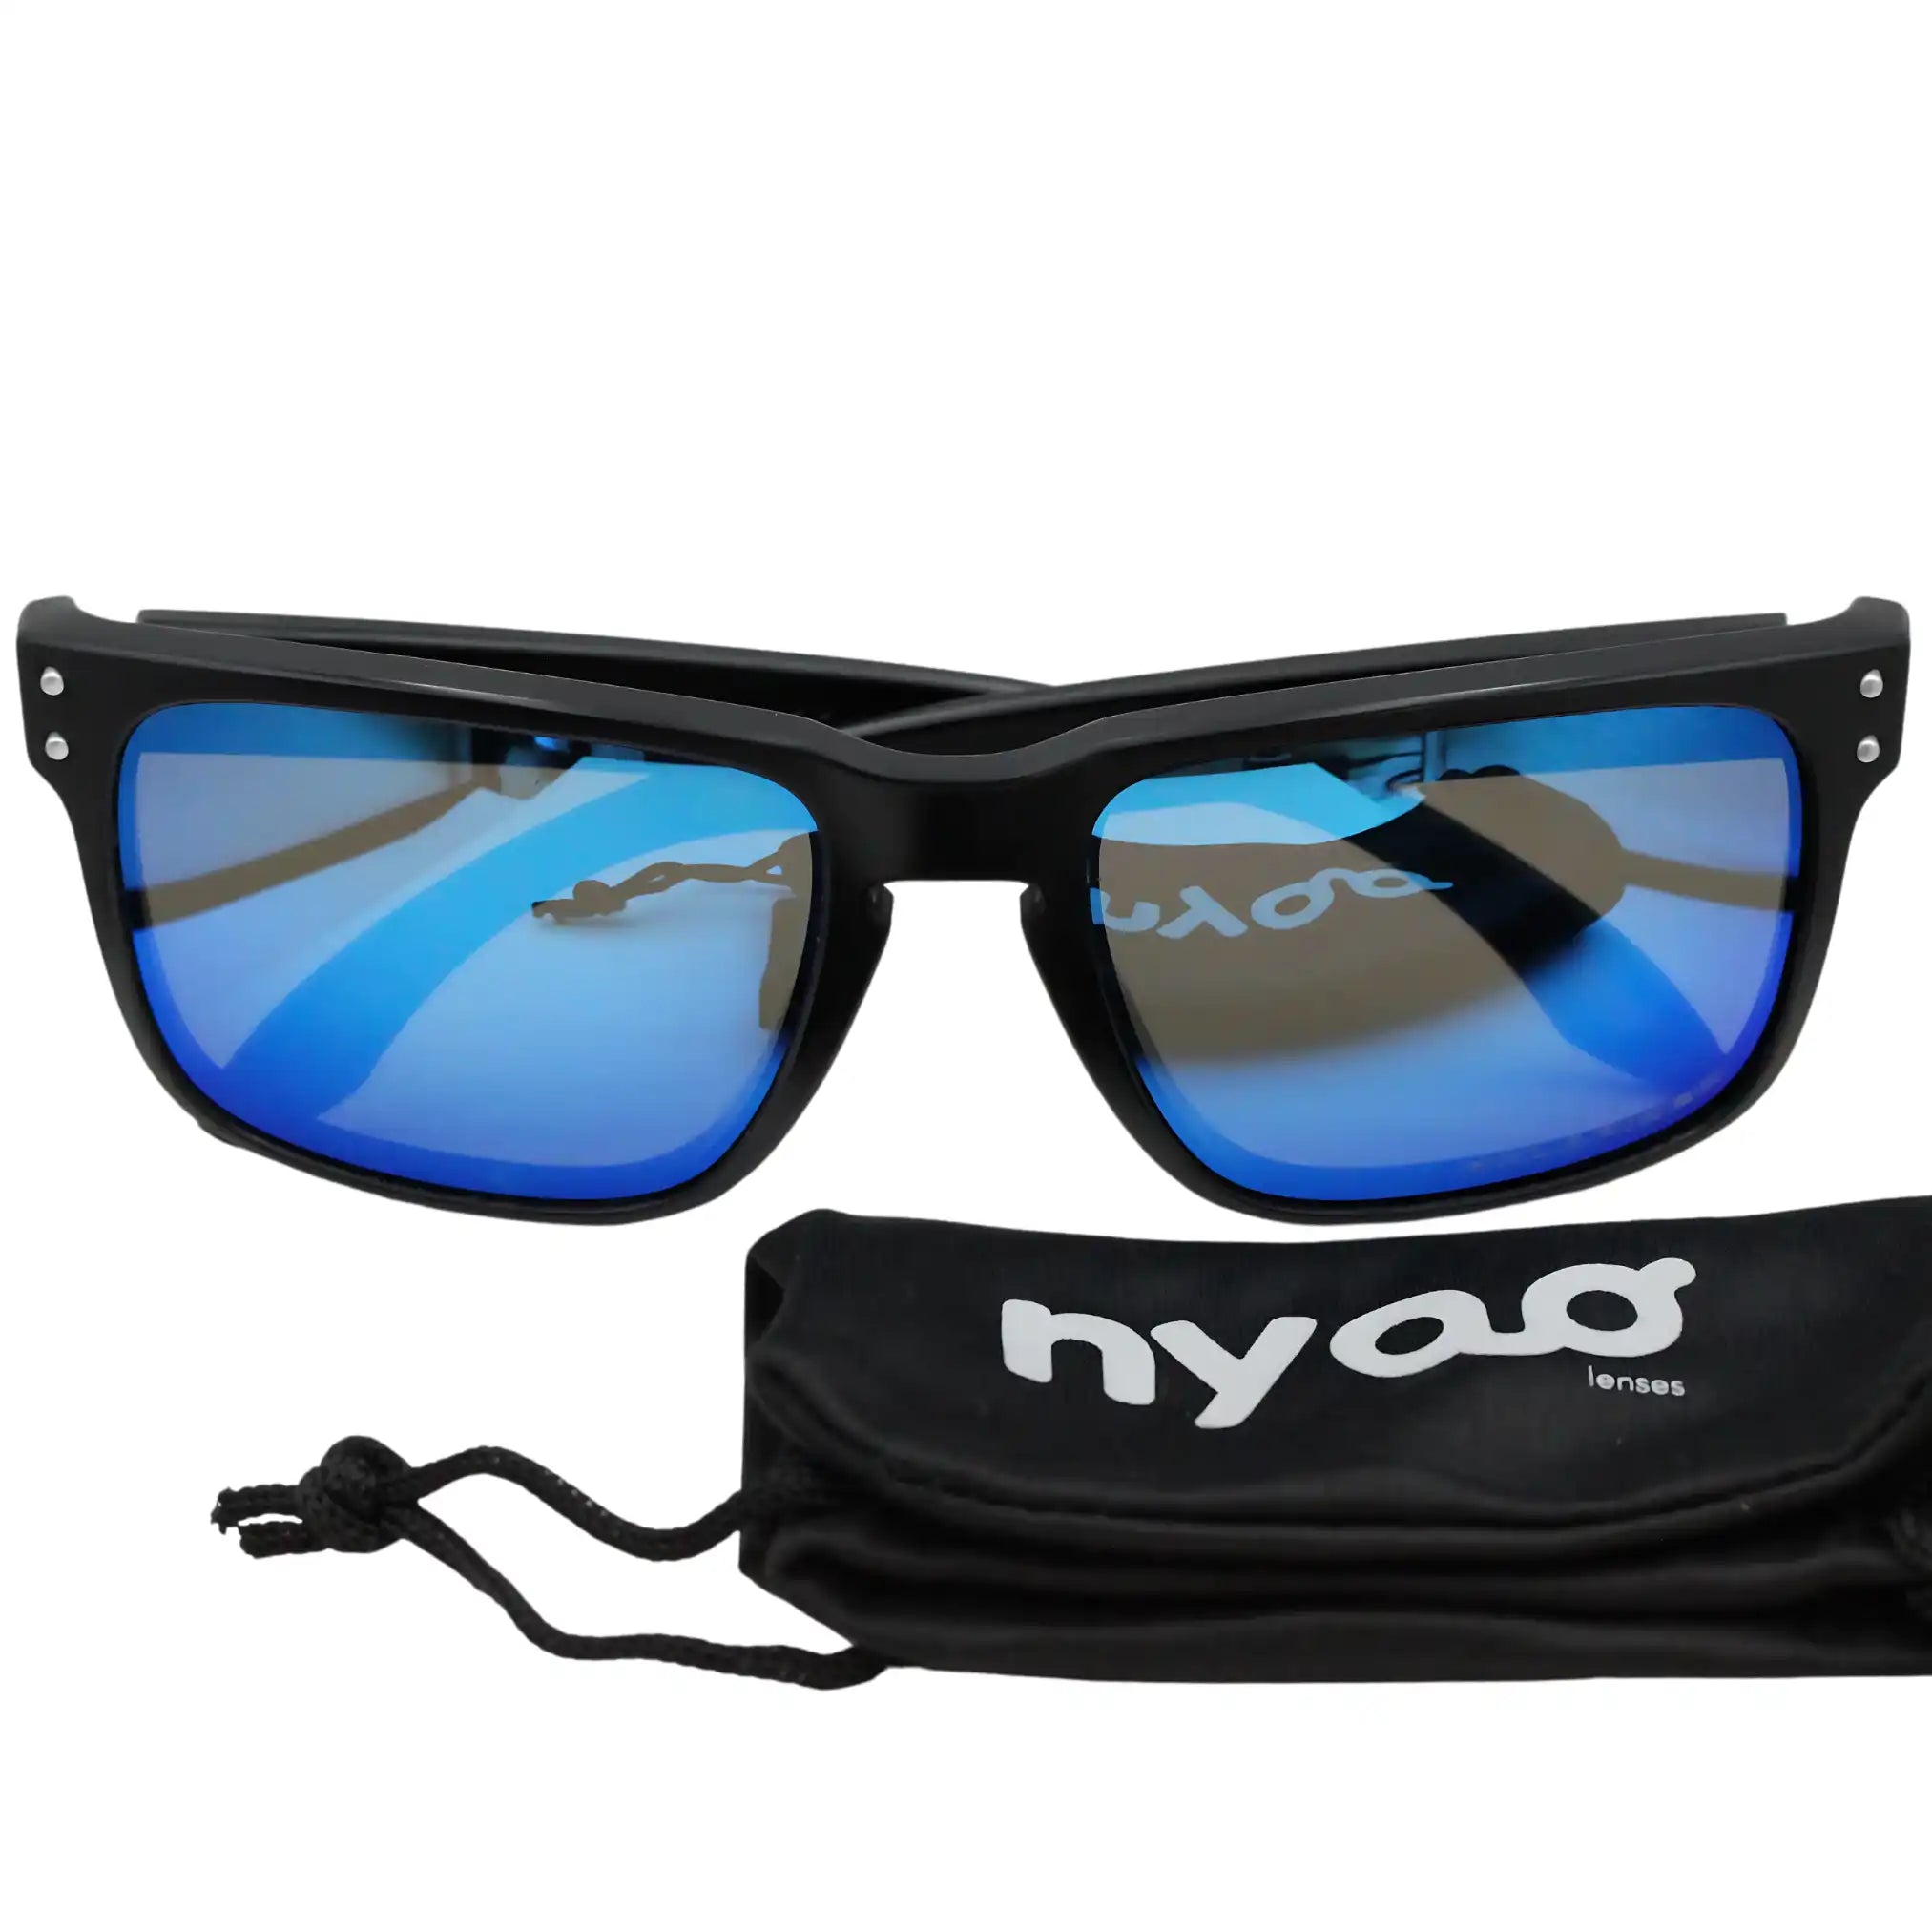
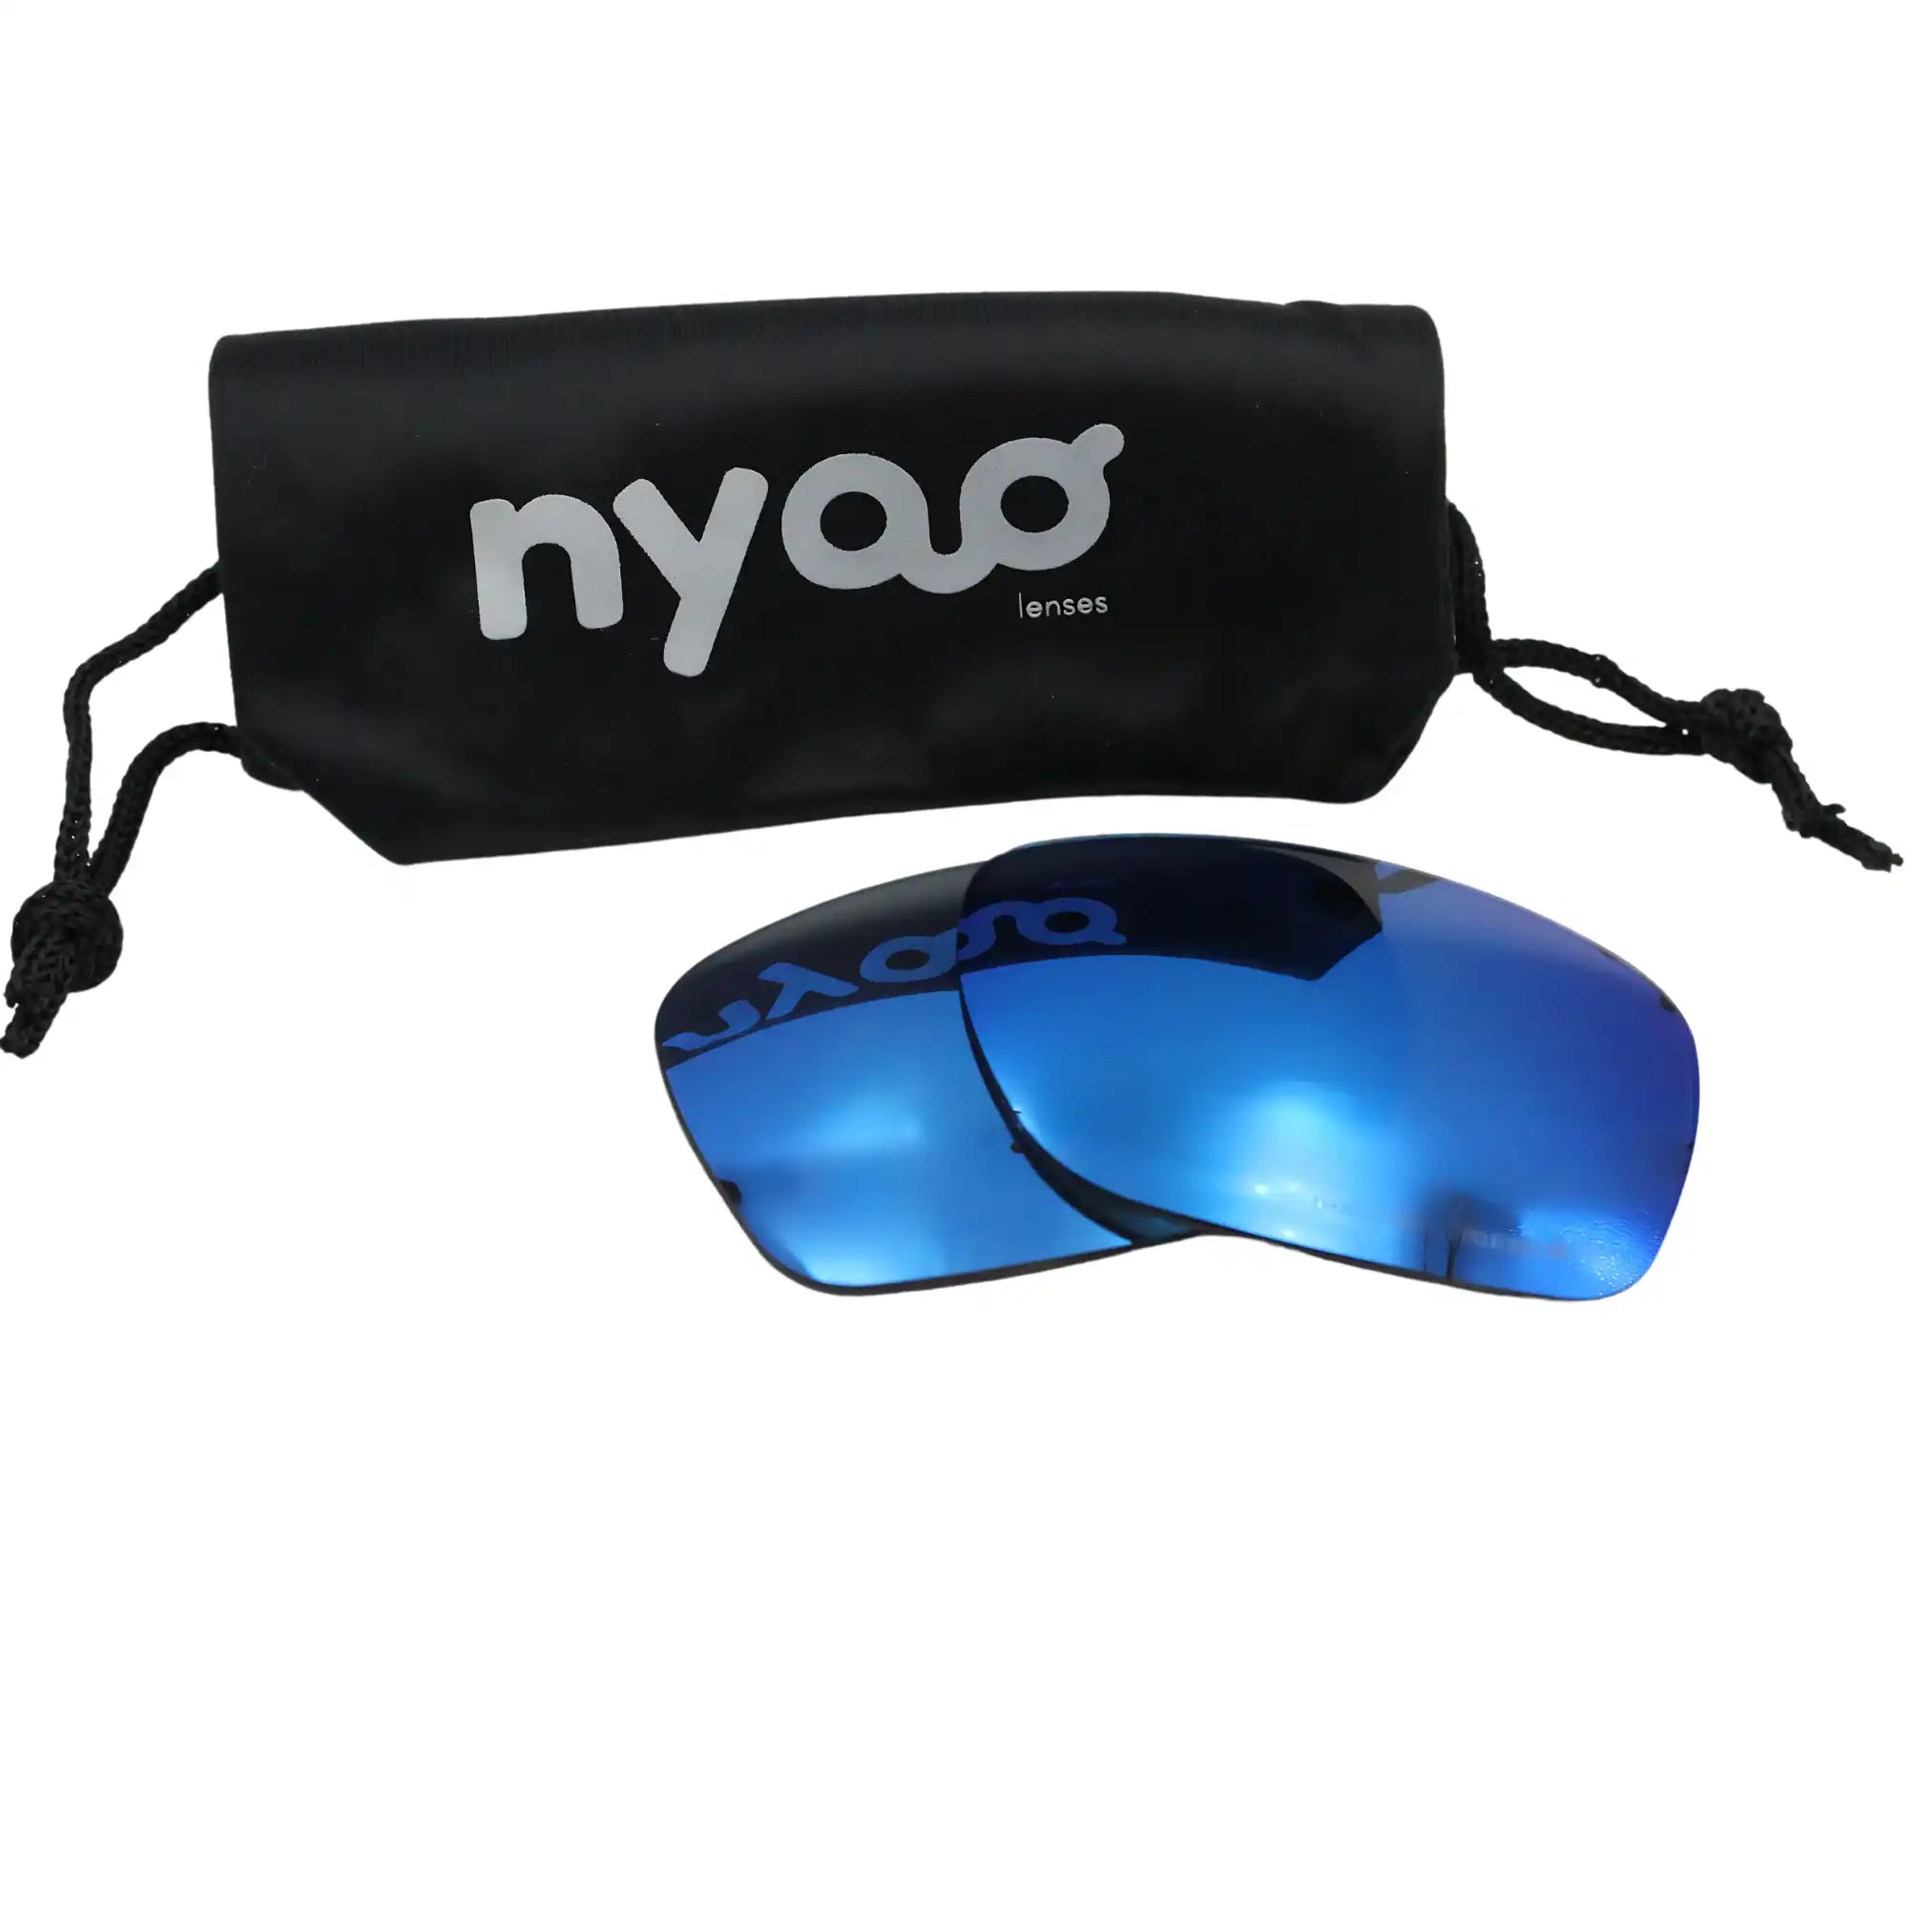
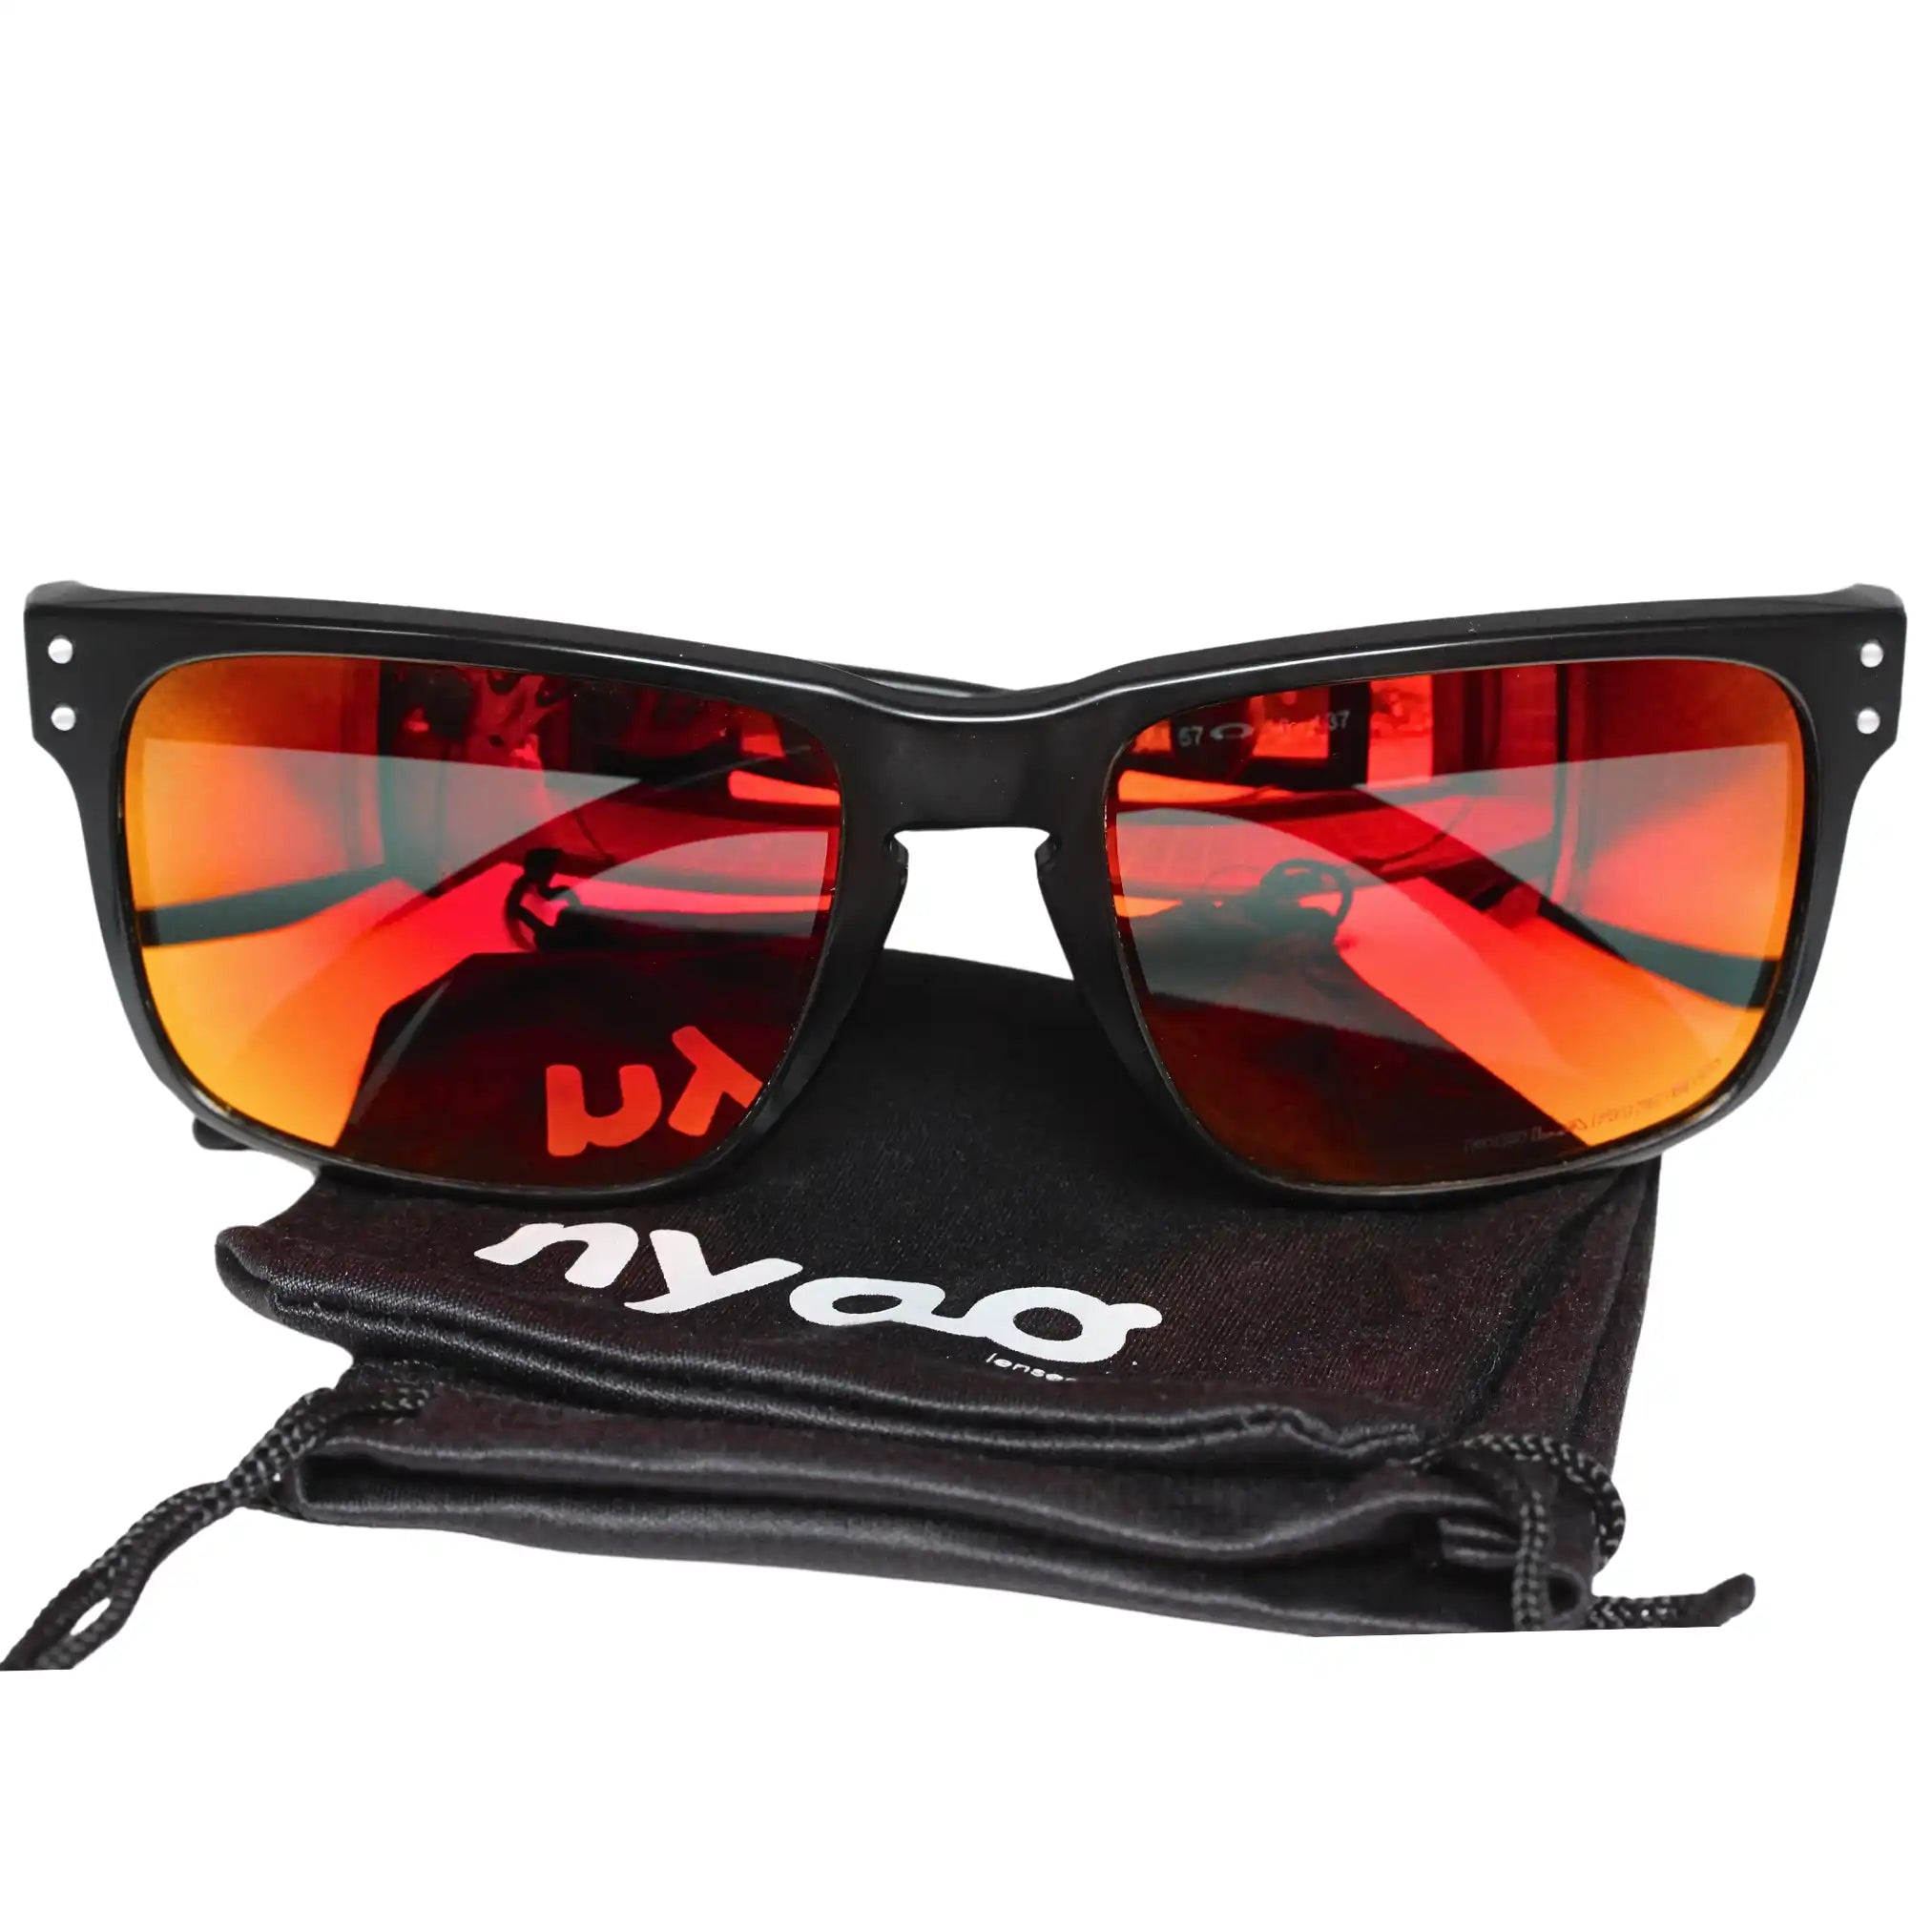
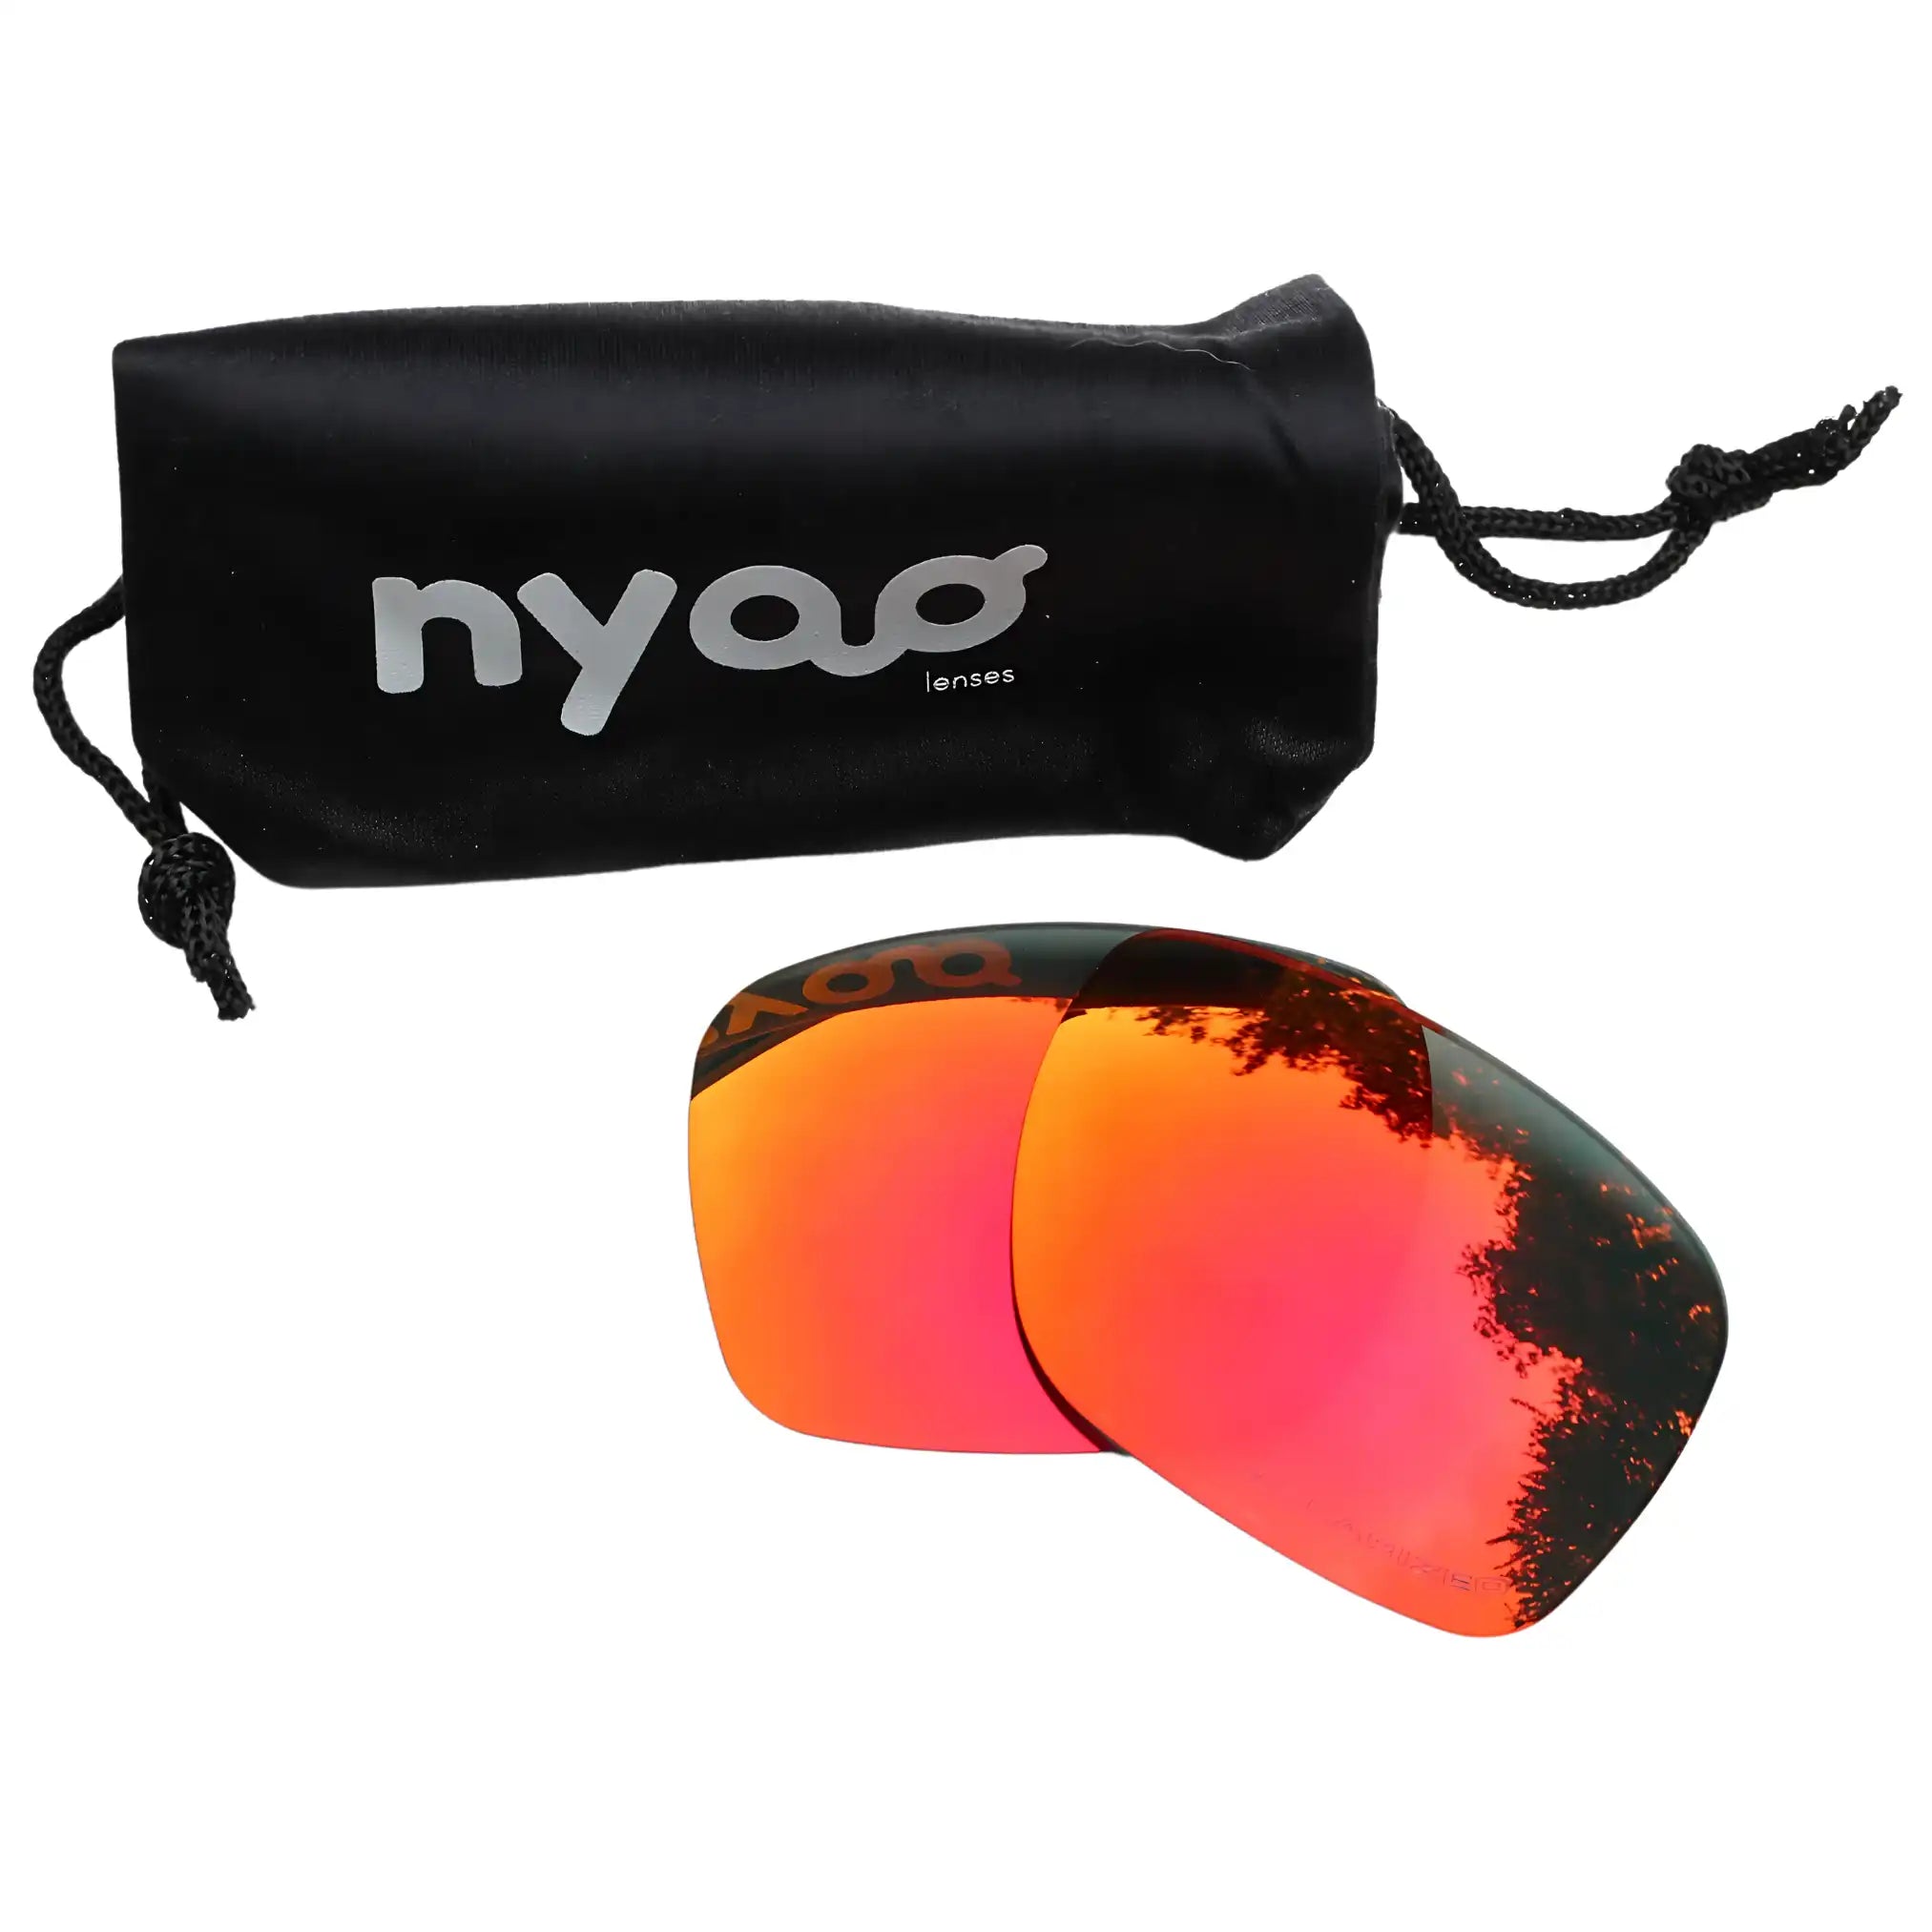
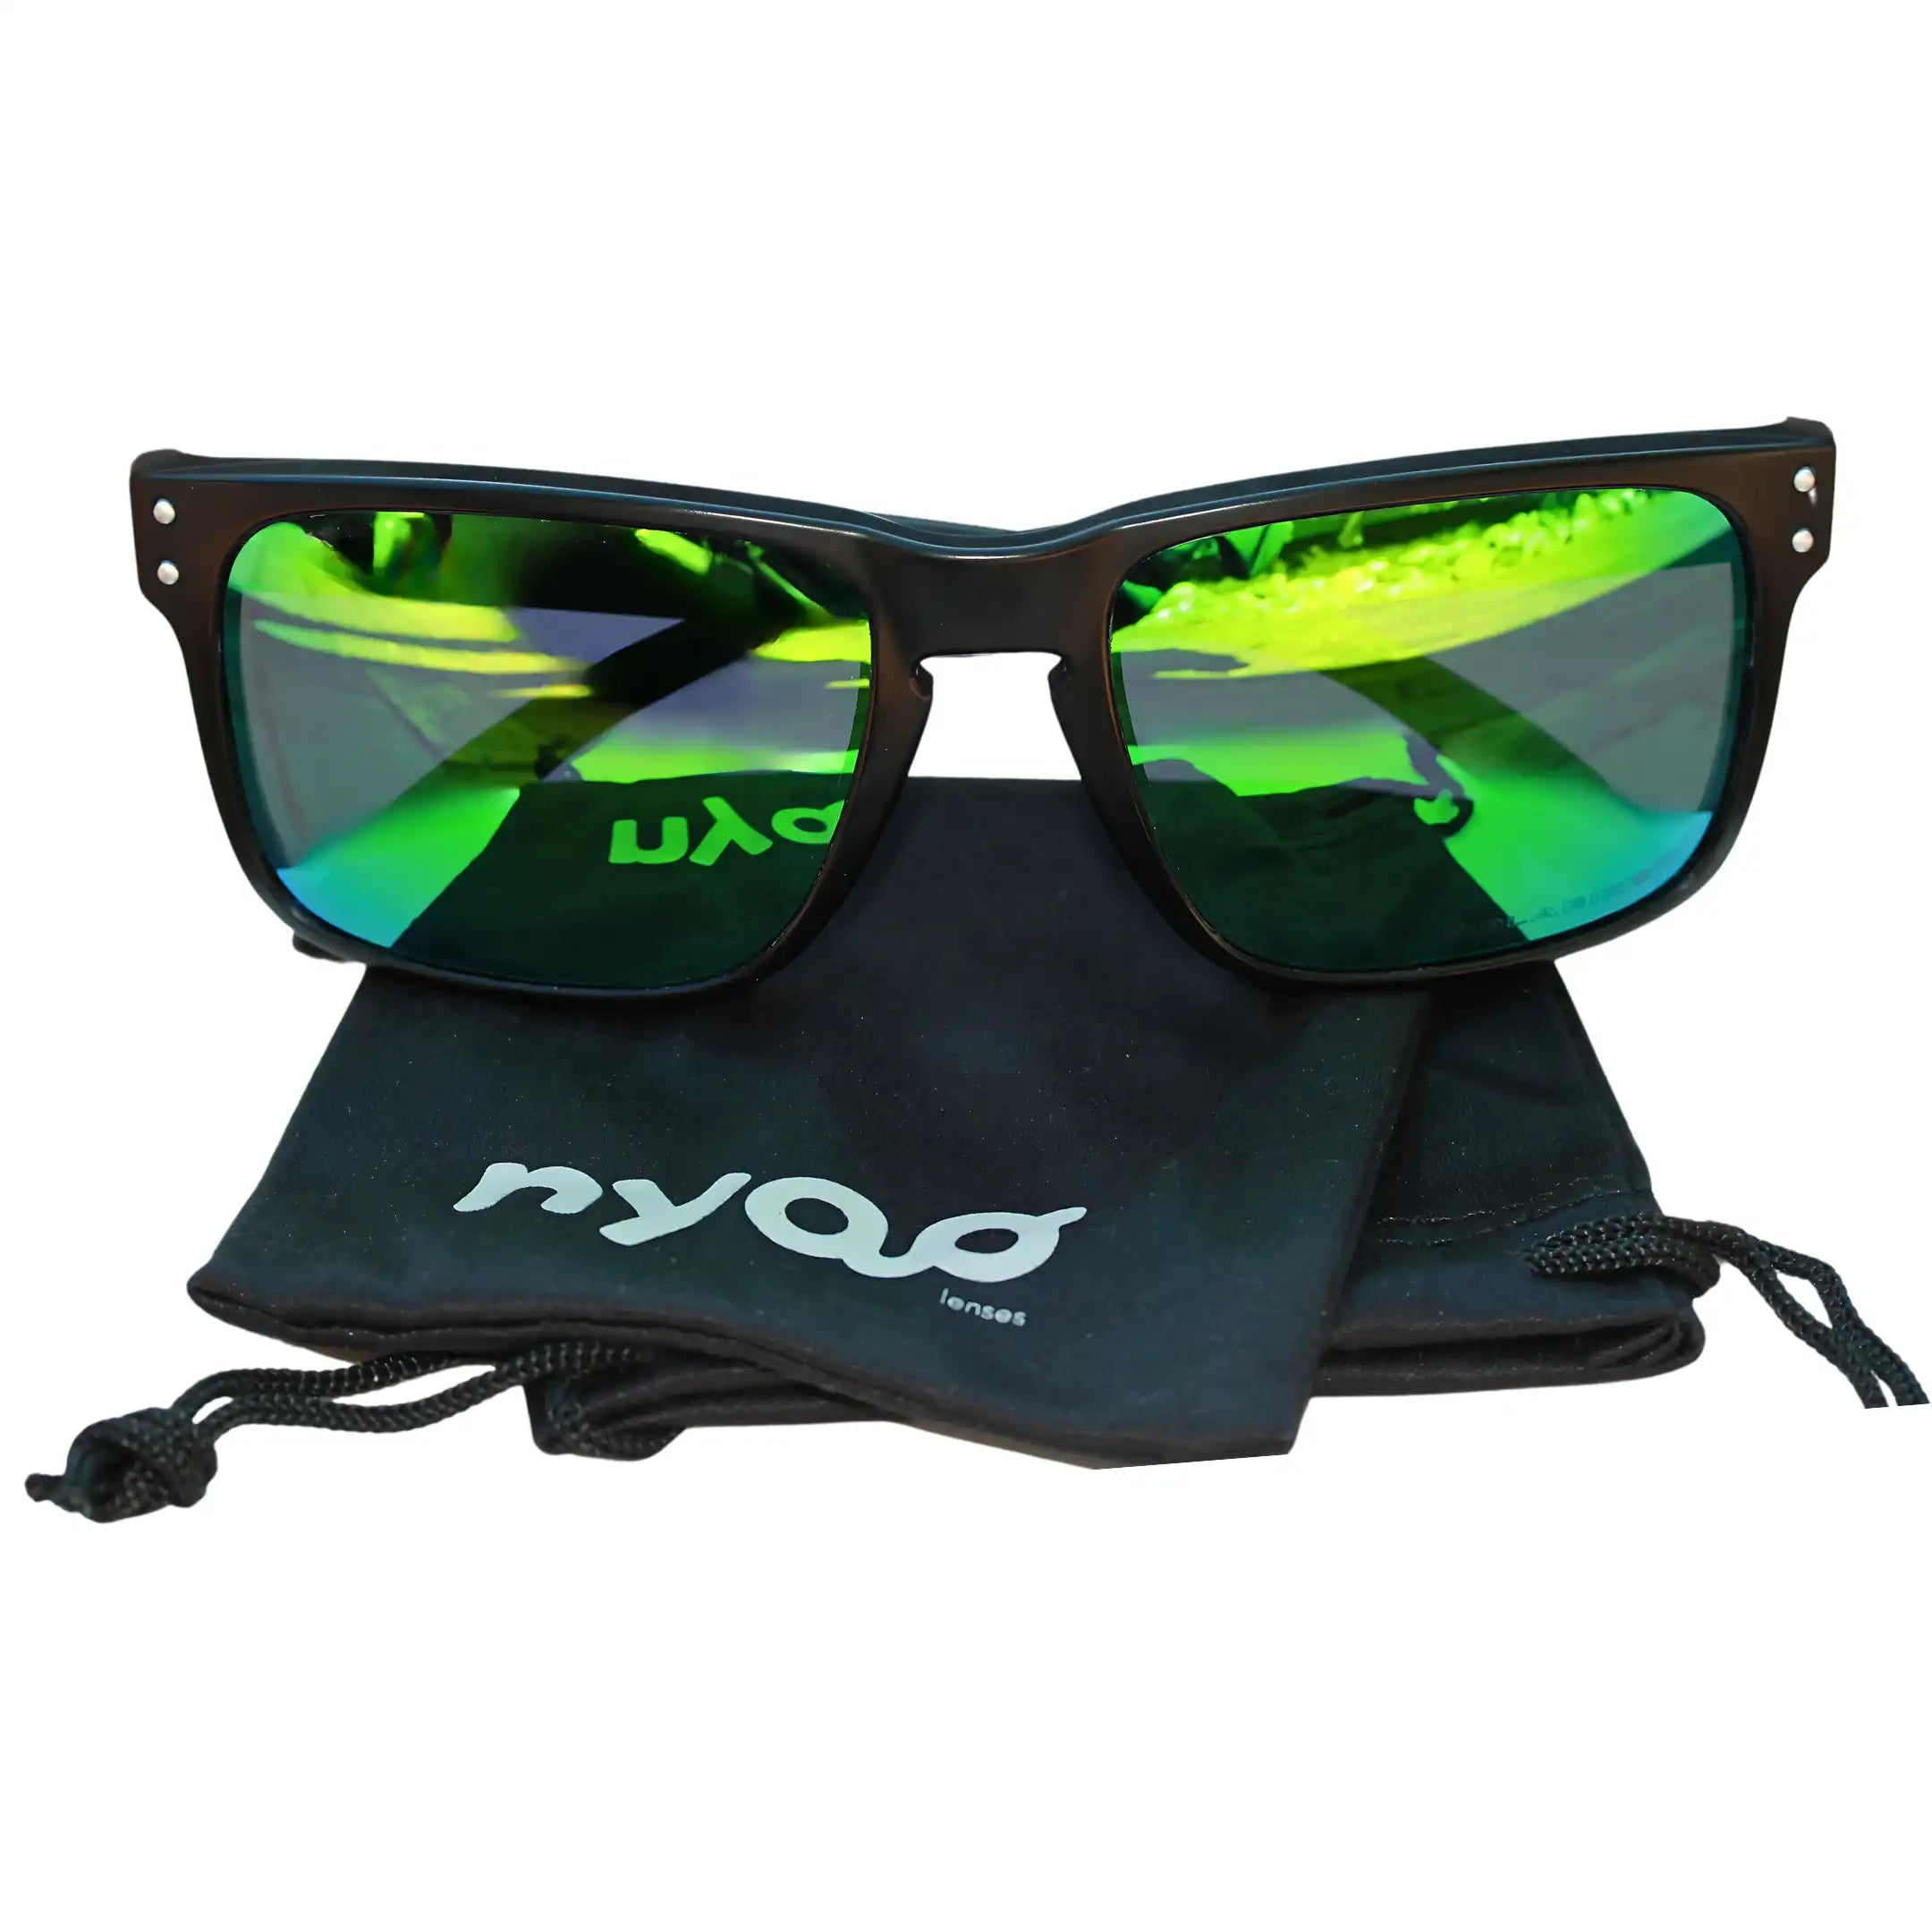
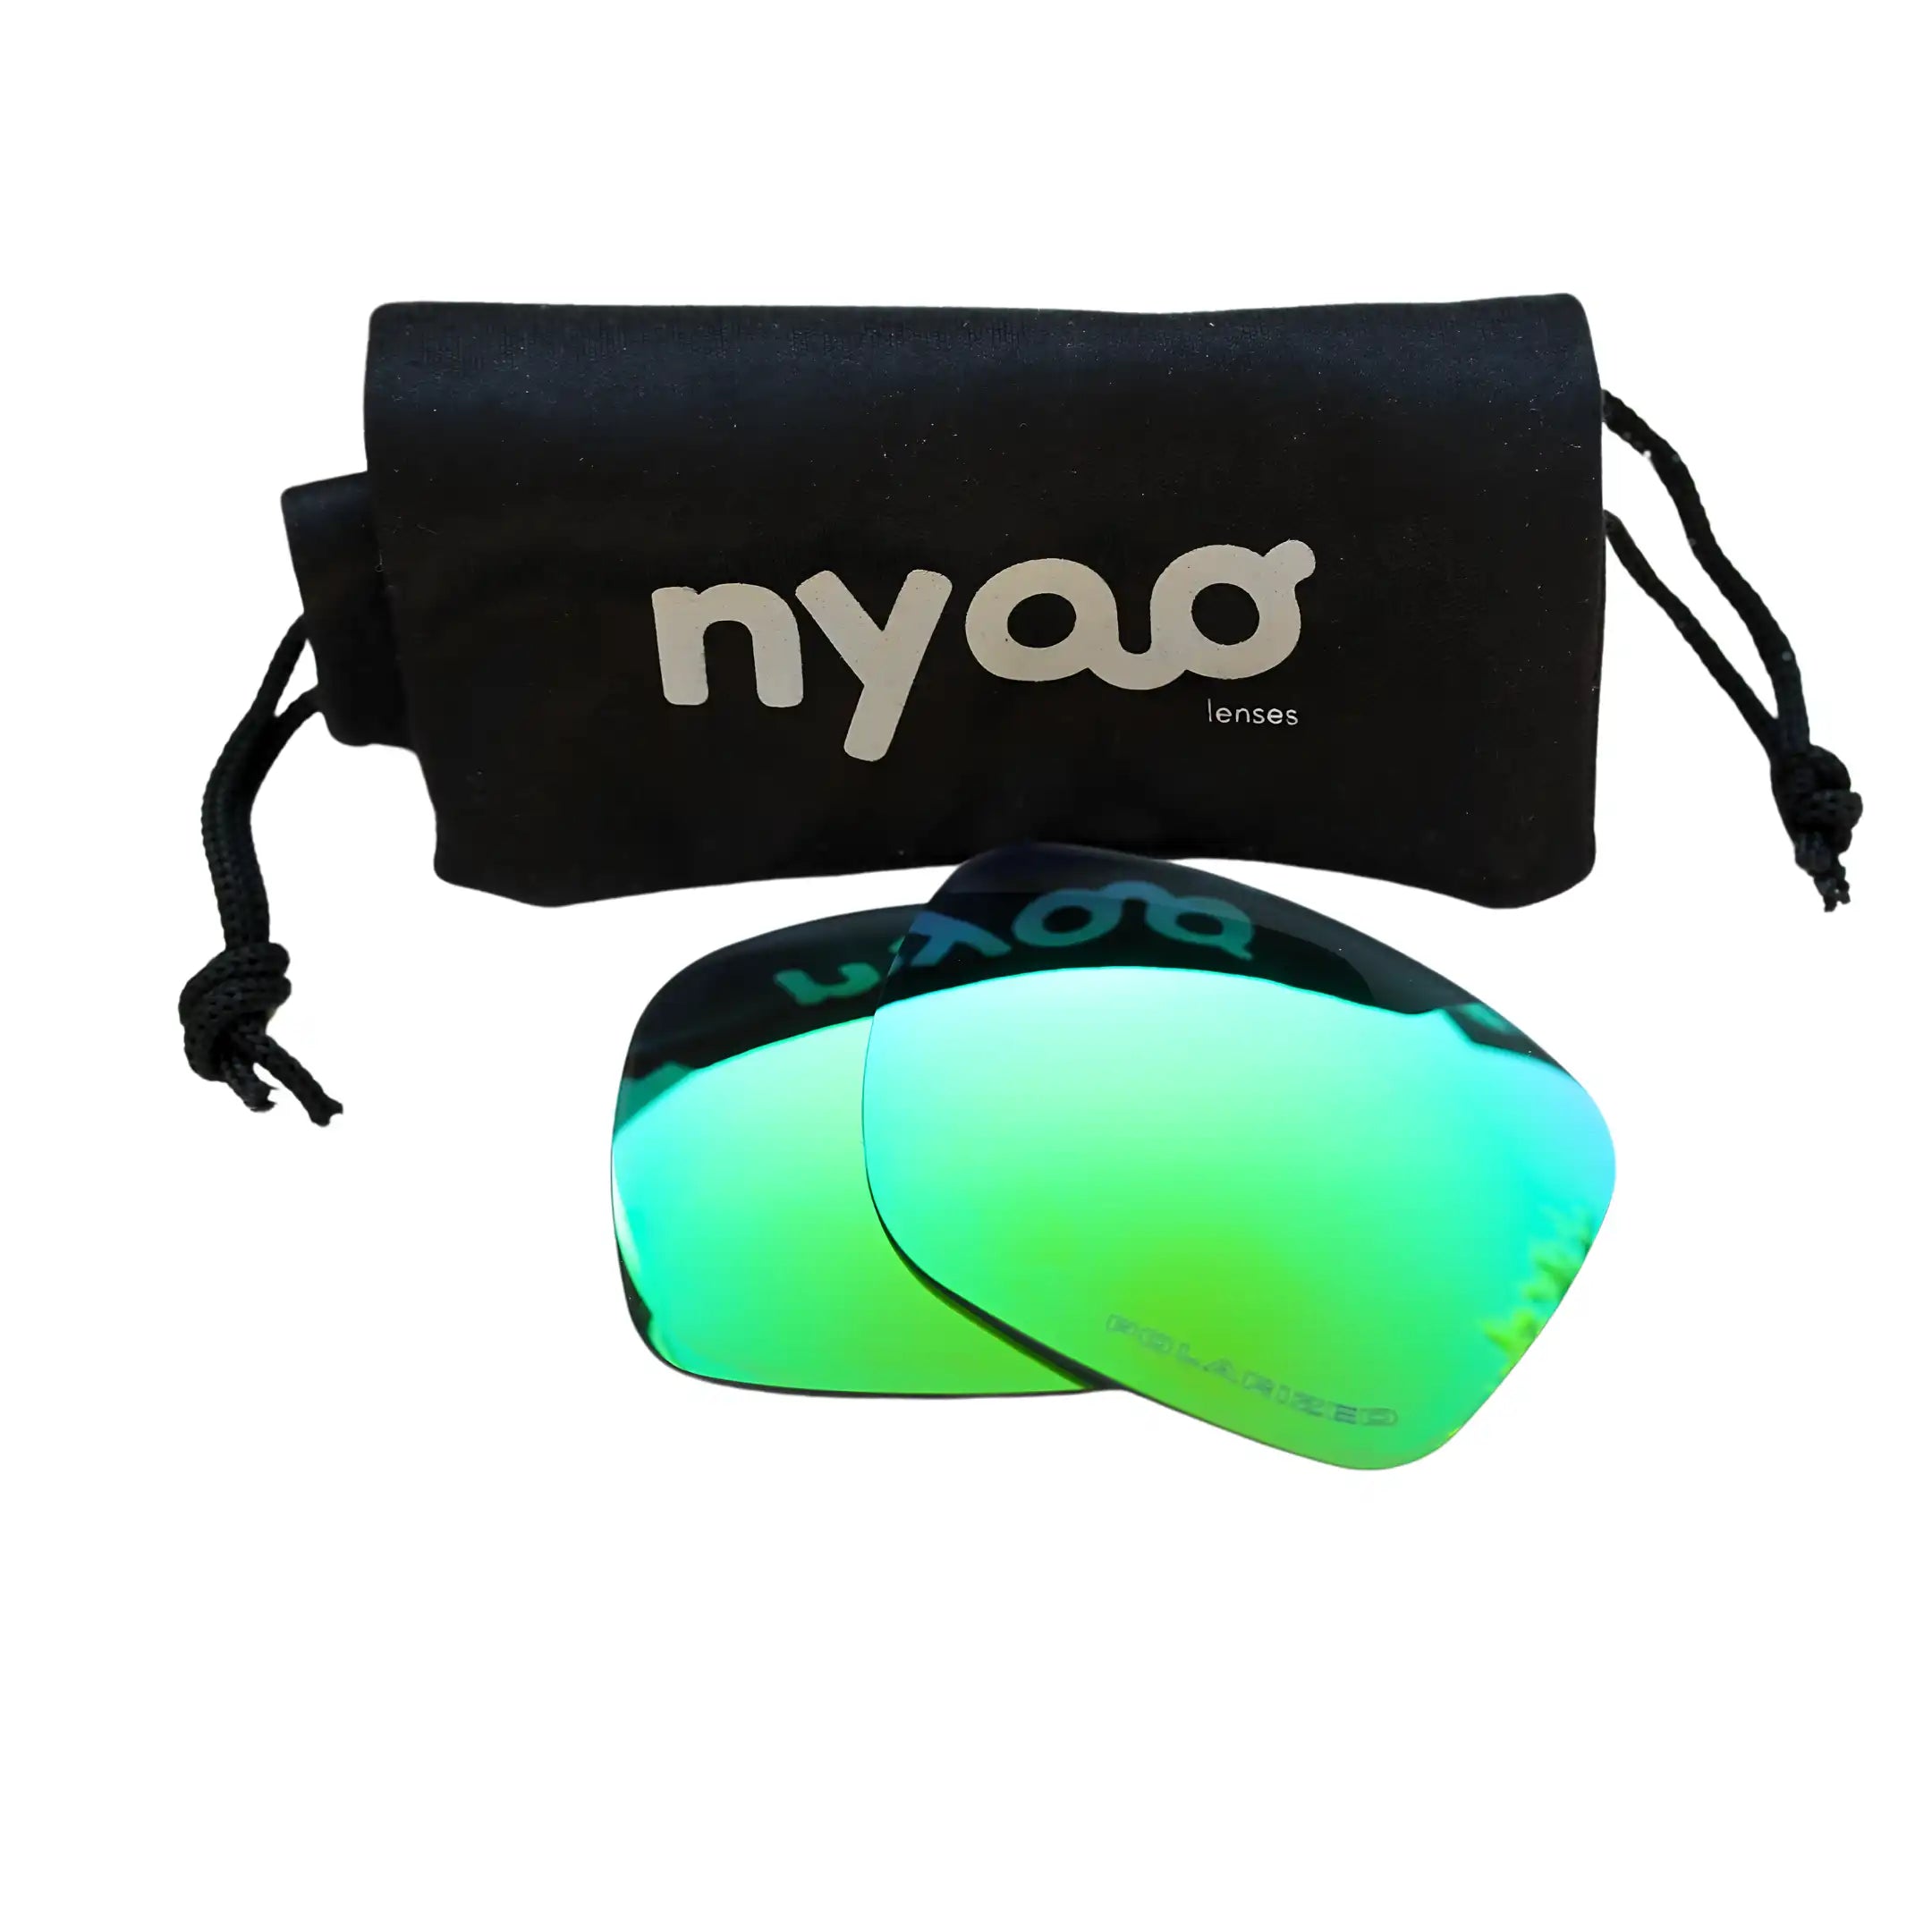
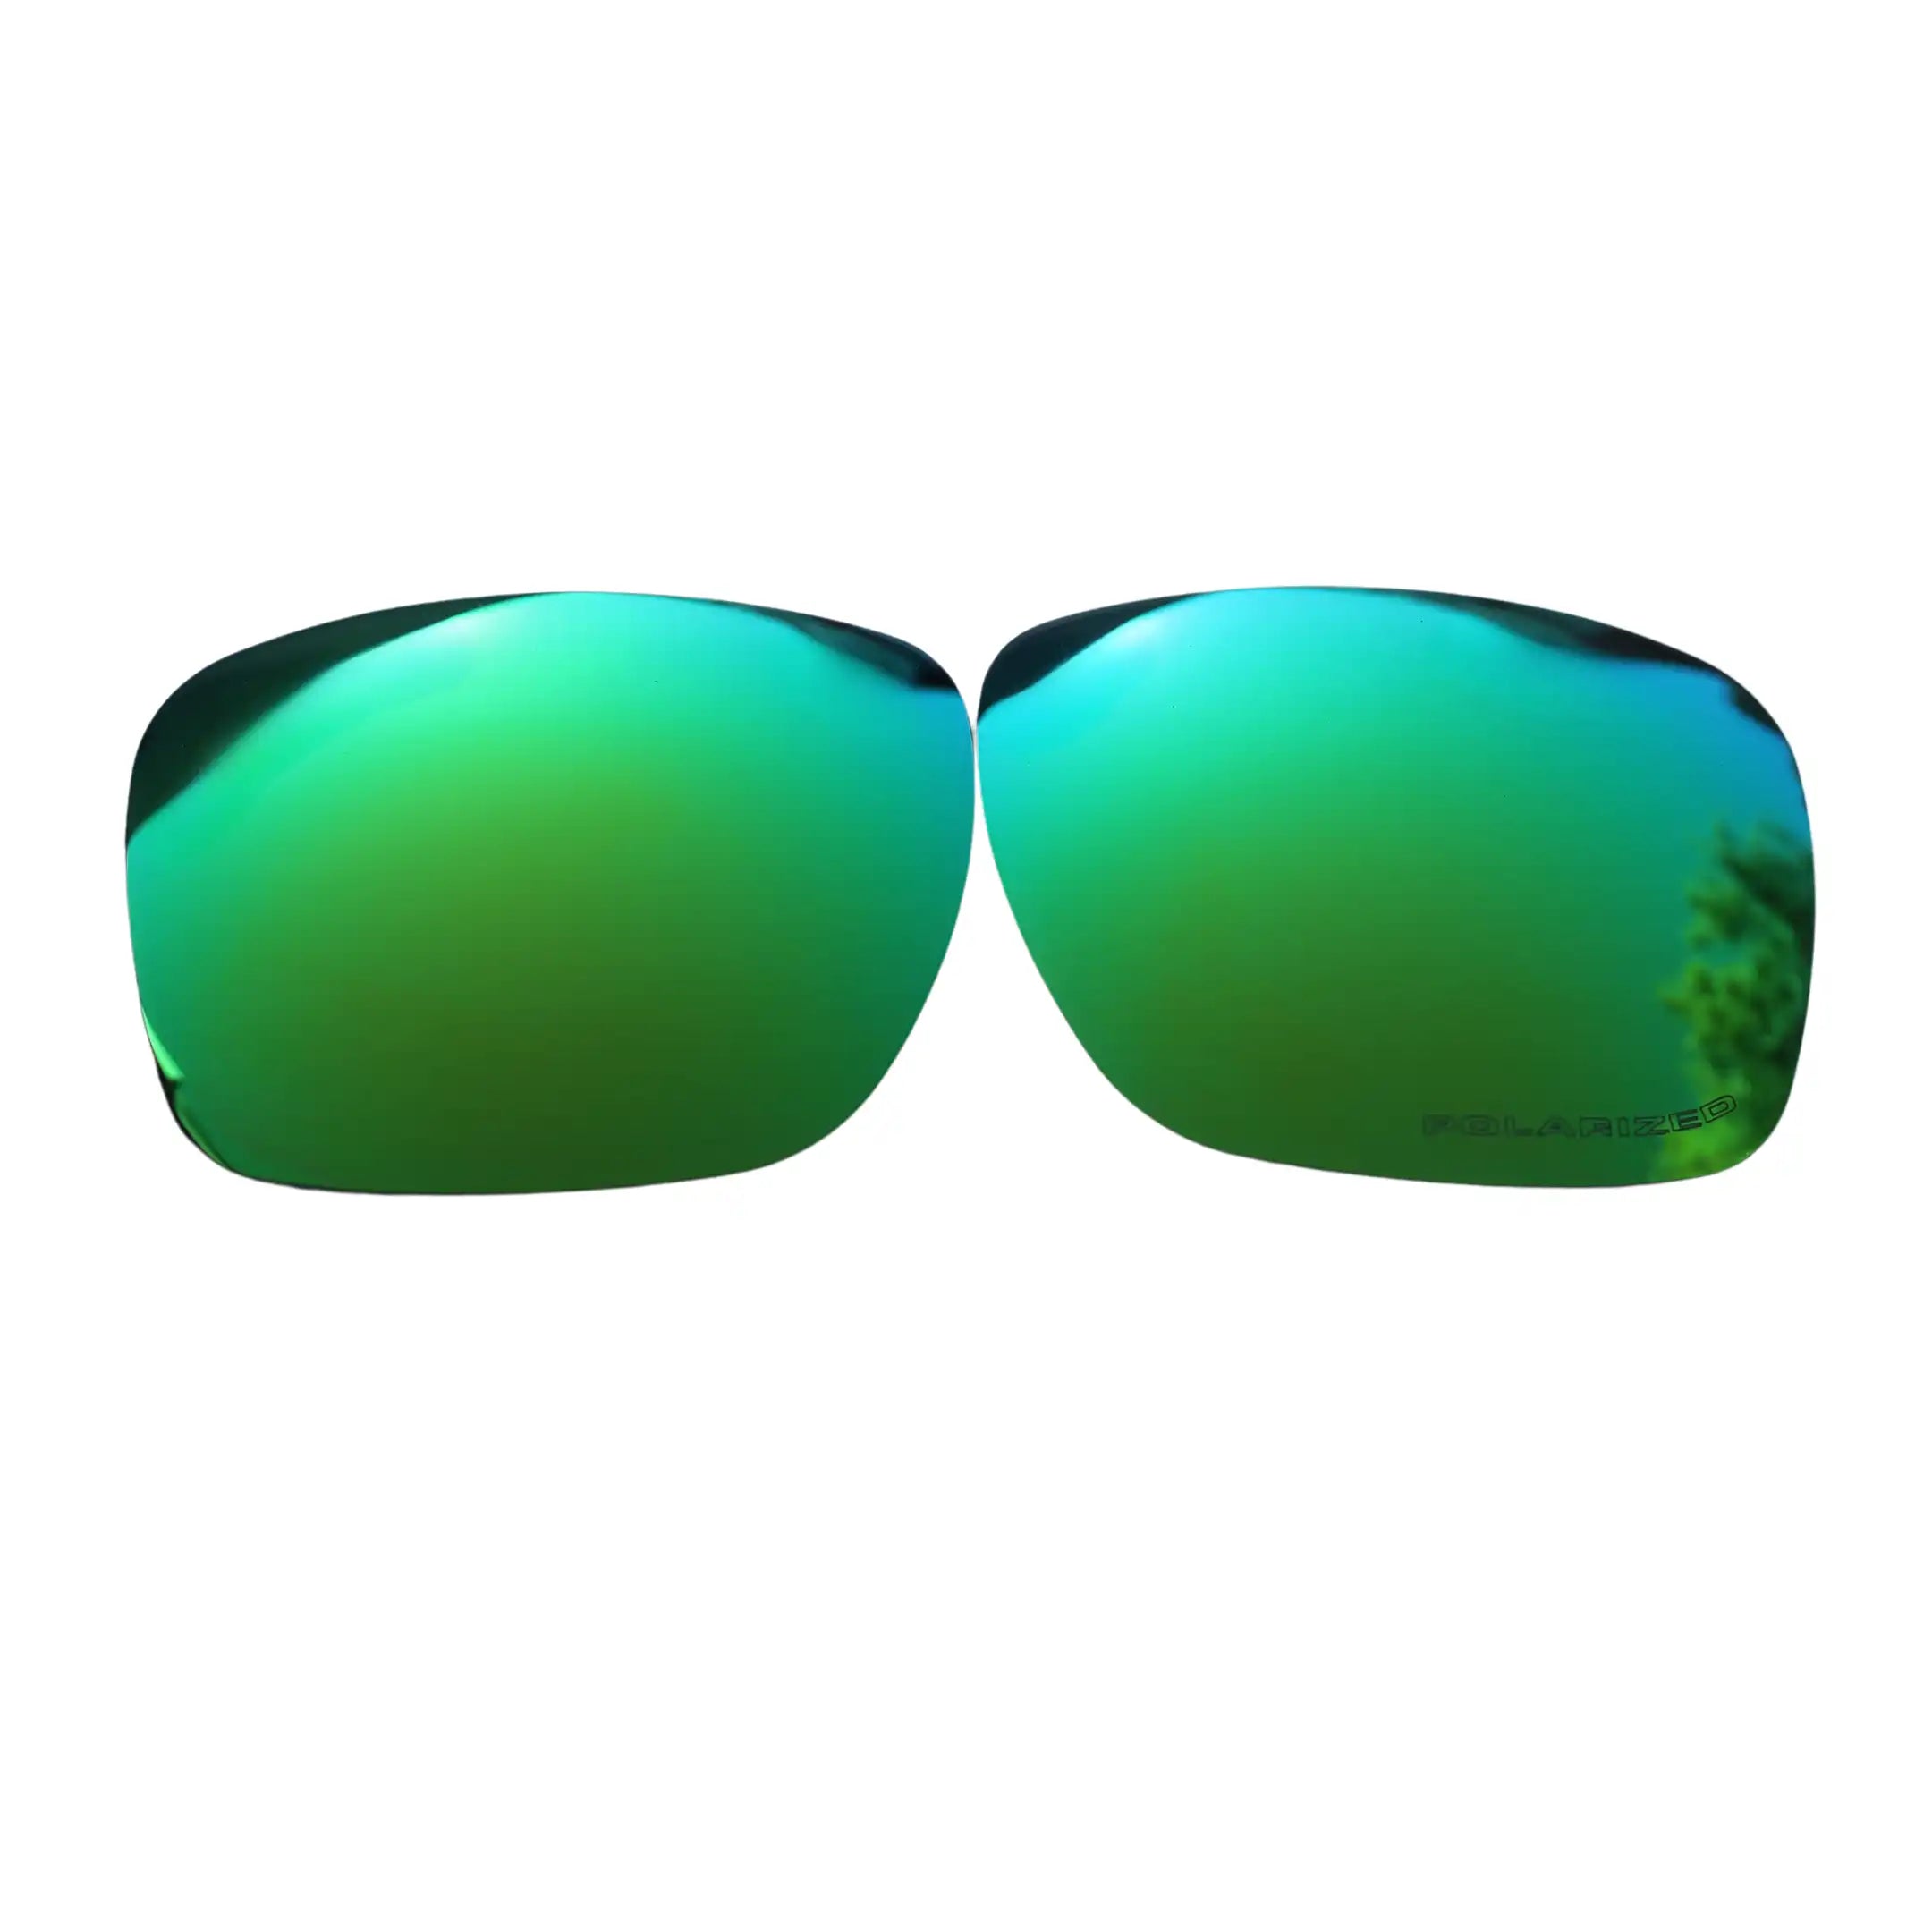
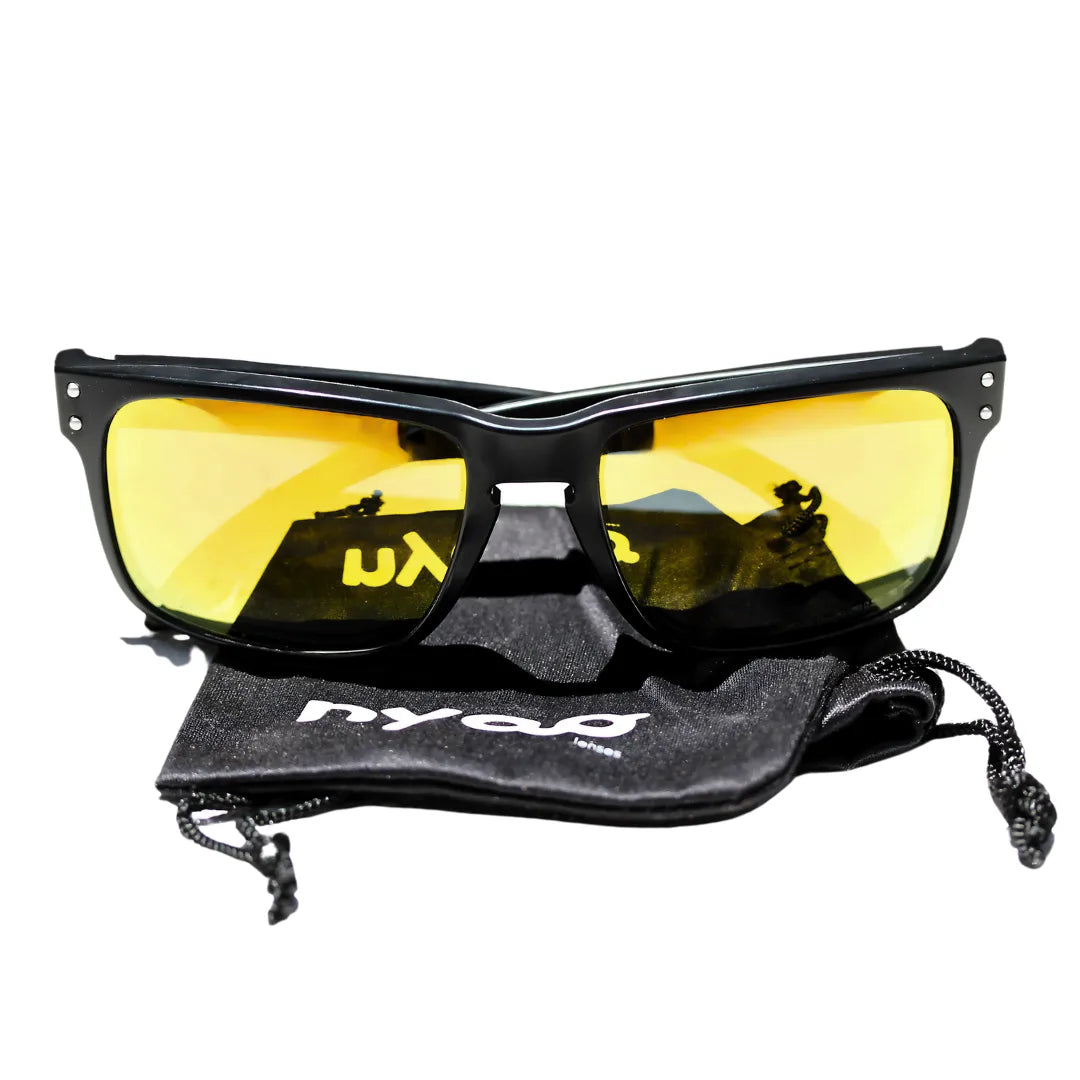
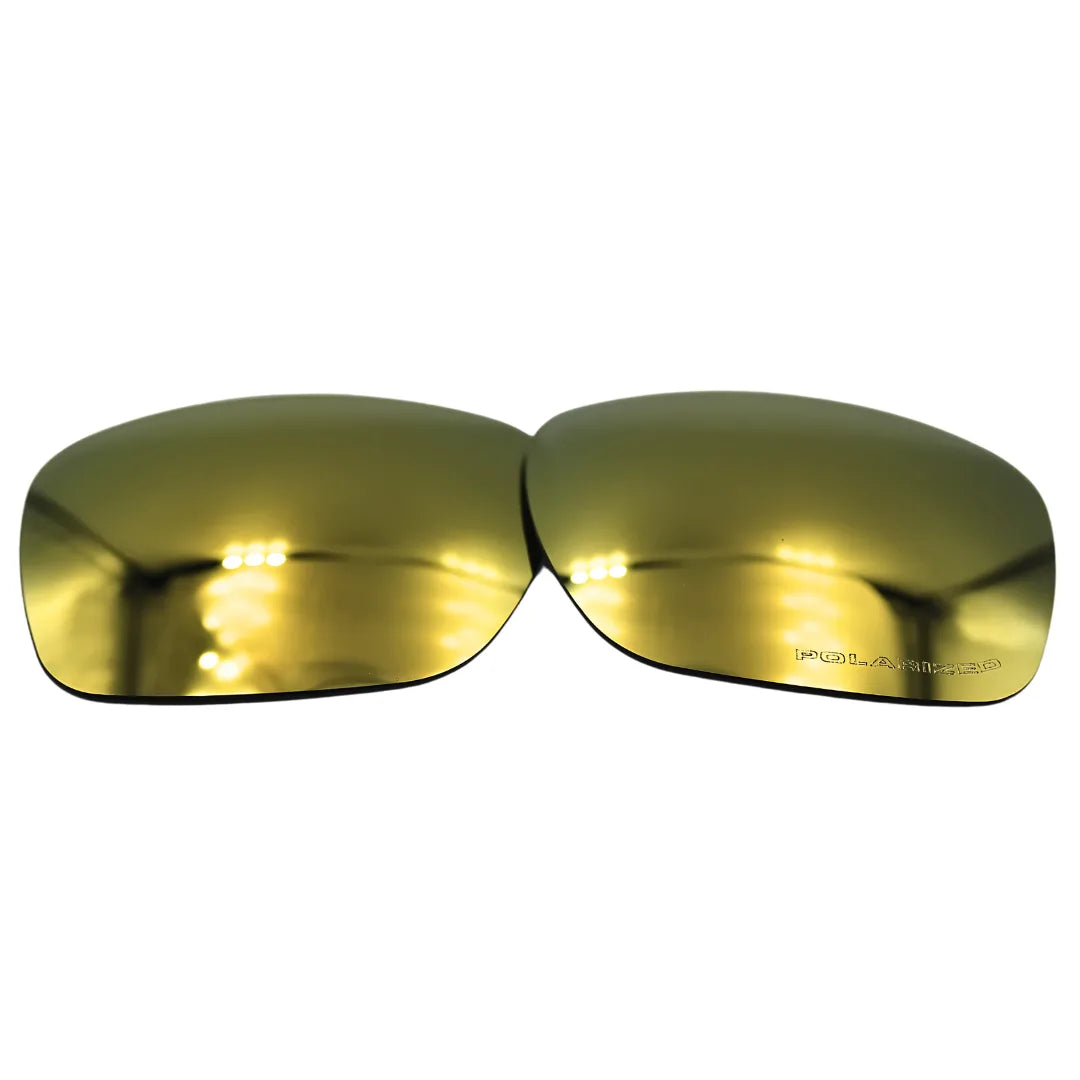
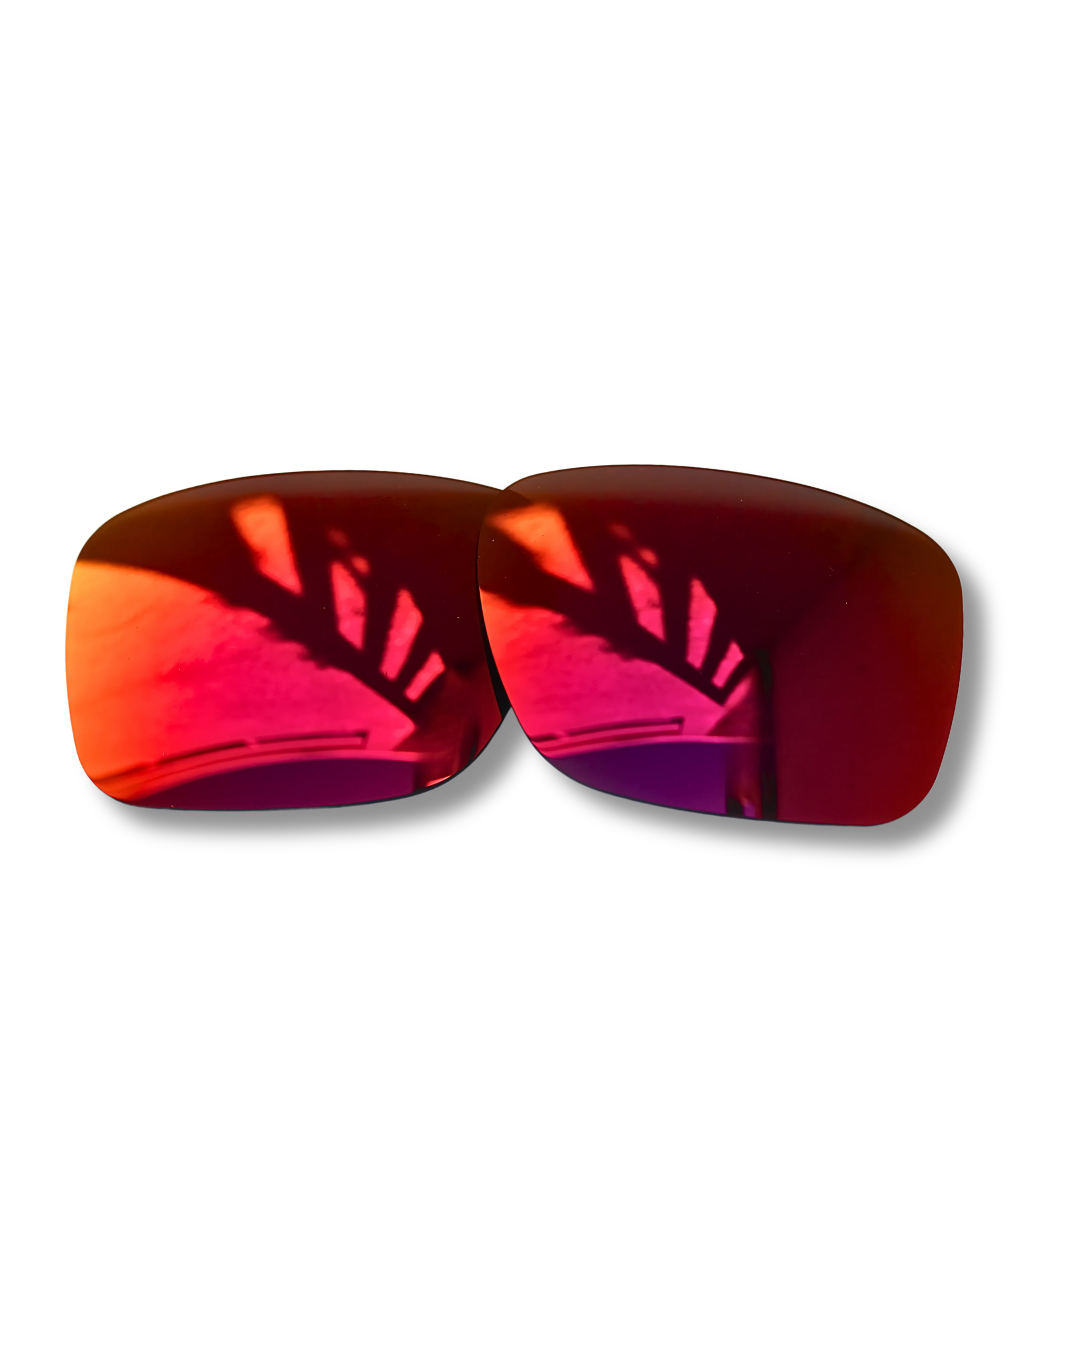
Replacement Lenses for Oakley Holbrook OO9102
Give your Oakley Holbrook sunnies a new life!
Replacement Lenses brought to you by Nyoo!
High Definition and rugged Tri Acetate Cellulose (TAC) polarized lenses, to replace your old, scratched lenses. Our TAC technology is formulated for superior visual and polarization clarity. Nyoo lenses block 100% harmful UV rays up to 400 nanometers. They are very lightweight, highly impact resistant and replaceable, with HD clarity.
- Replacement lenses for Oakley Holbrook OO9102
- High Definition
- Scratch Resistant
- Highly flexible and lightweight
- TAC mirrored polarized lenses
- CAT3 UV 400 protection
-DIY Replacement
Gender: Unisex
Head Size: Medium
Face Shape: Universal
Measurement: Snug fit for Holbrook OO9102 - 57mm Standard
Best for: Sports and Everyday
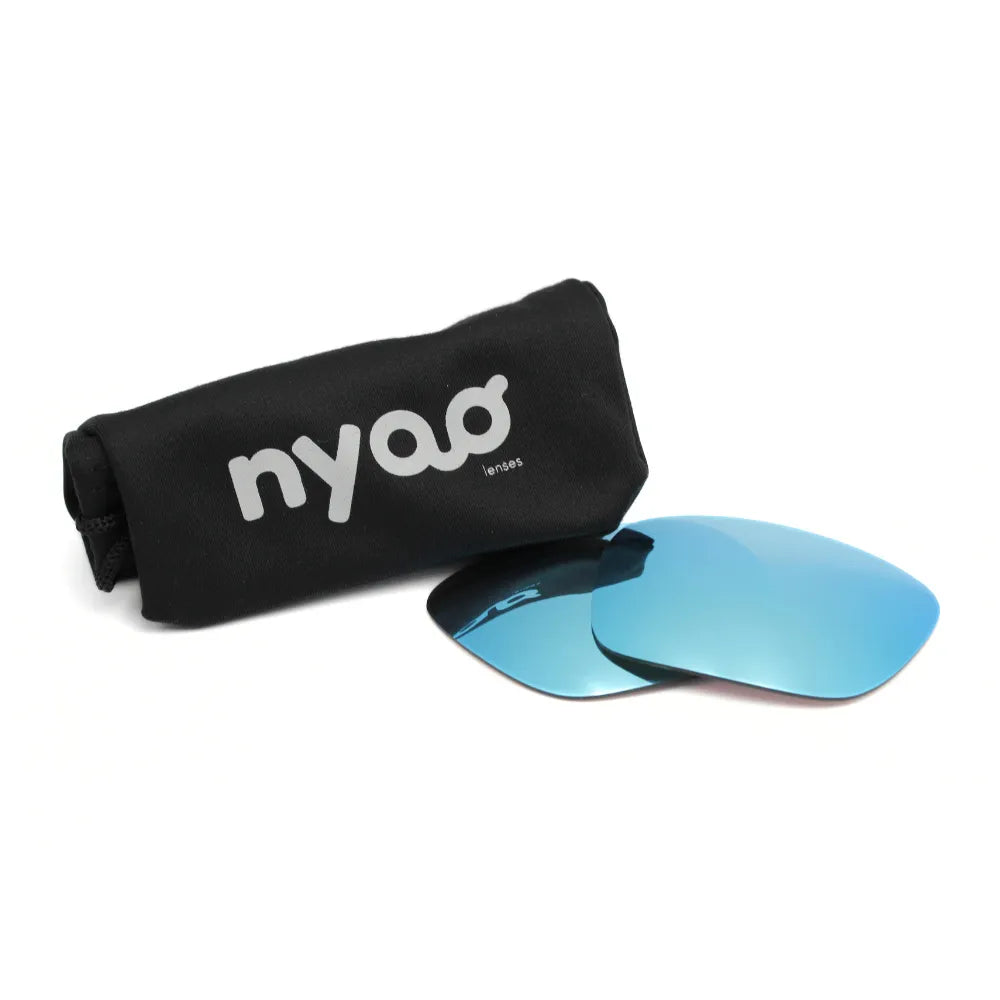
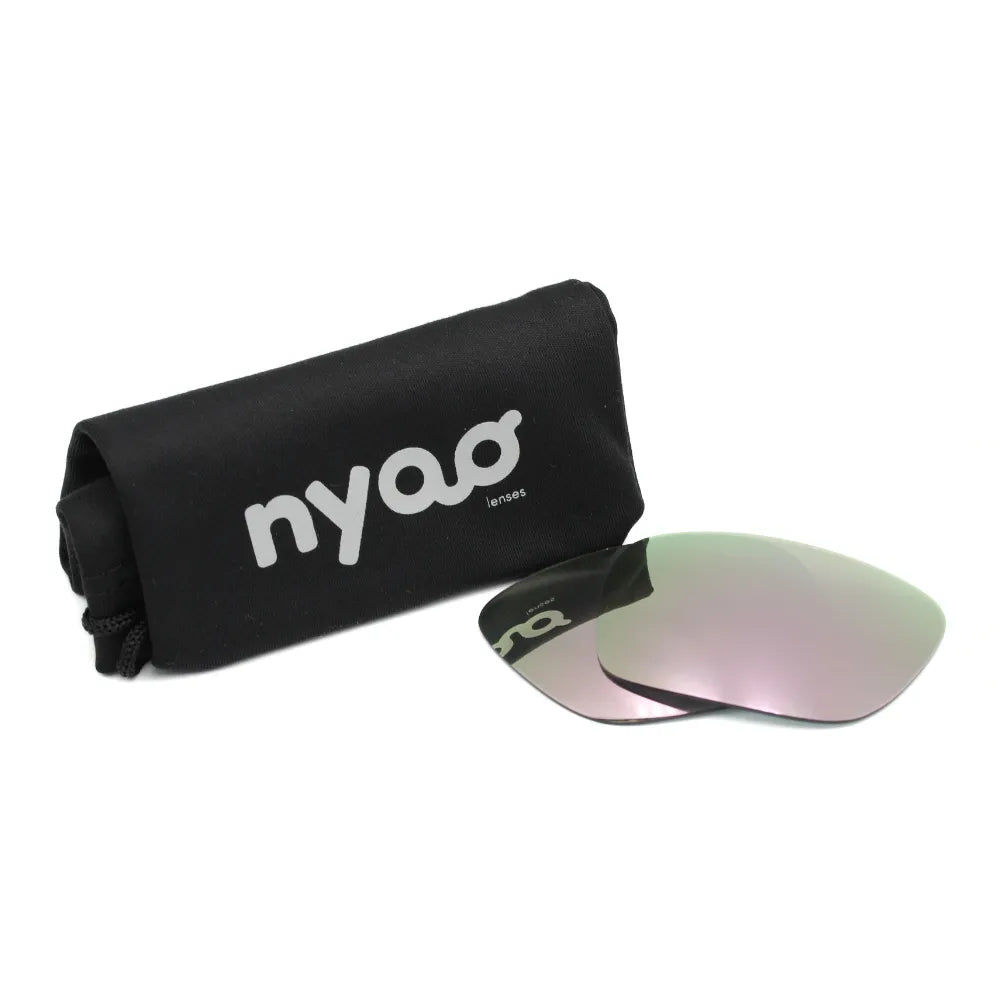
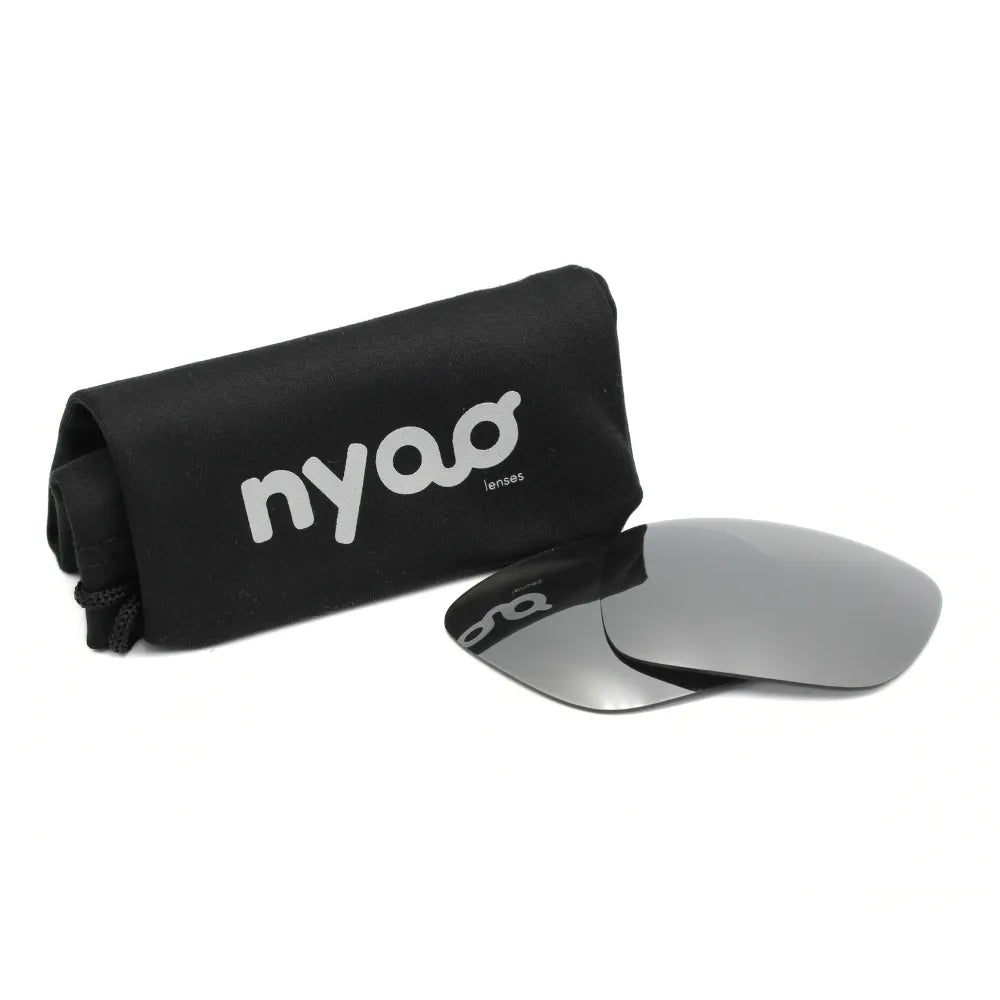
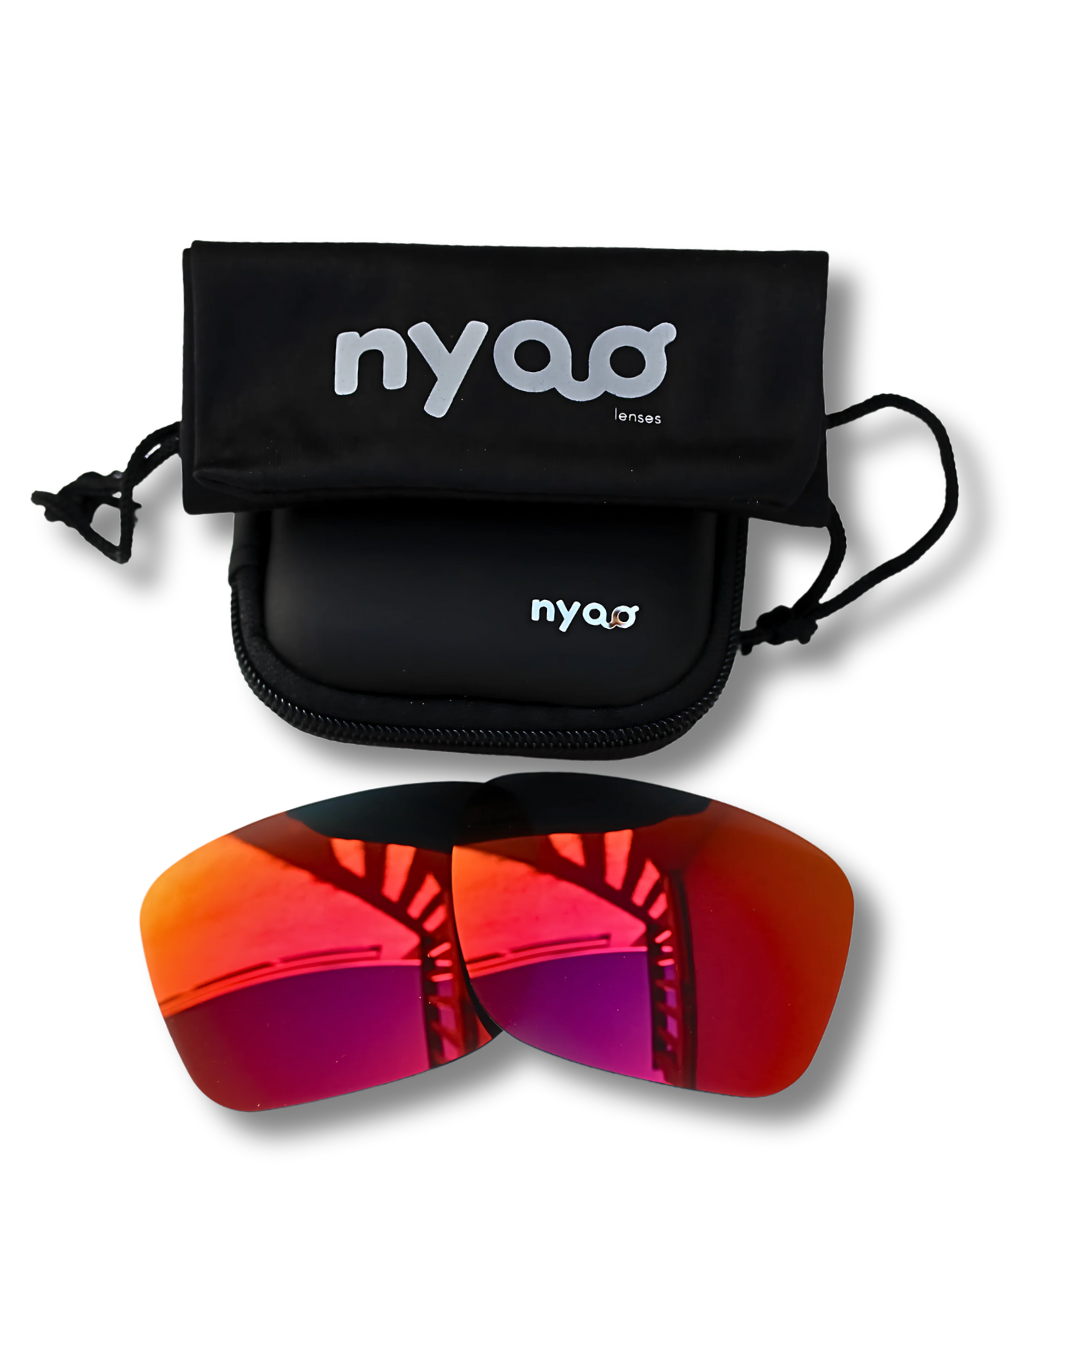
- Your brand nyoo Oakley Holbrook Replacement lenses
- Microfibre branded softcloth
NYOO Makes it Easy
We'll provide the tools you need. Use the enclosed softcloth bag for a spotless installation and to keep them clean on the go.
How to Replace Full Frame Sunglass Lenses
- Grip the top and bottom of the frame with both hands.
- Gently pull up on the top of the frame while pushing the lens out from the back.
- Insert the replacement lens starting at the nose bridge. Press the replacement lens along the perimeter until it snaps securely into place.
Prior to install: Use warm water to soften your frames.
Check out the tutorial video here
- This is not an Original Oakley product
- Nyoo Lenses or Wombat Gear is not affiliated, associated, authorized, endorsed by, or in any way officially connected to Oakley, and we do not sell any Oakley products or accessories.
- Any reference to Oakley is purely included to inform the user of product compatibilities.
- Sunglasses not included.

How to Replace OAKLEY HOLBROOK Lenses
STEP 1
Gently pull the top of the frame up from the bottom edge and push the lens through the front of the frame.
STEP 2
Seat the outside edge of the lens in the groove of the lens socket from the front of the frames. Do the same with the nose side of the lens.
STEP 3
Work your thumbs around the edge of the lens, seating the lens in the rest of the groove.

